Wednesday, 15 October 2014

MORE COLOR!


I recently decided that I needed MORE COLOR for the front garden entry of #43 Green Dolphin Street


Here is the front entry from my last post "Miracle Grow."
I feel that it is looking a bit dull for early summer
 This is how the front entry is looking now!

Often after I've published a post about a project that I have technically labeled as "finished", I will keep re-examining the photos of that said project, especially if I feel somewhat dissatisfied with what I am viewing.  I don't always know why or what is actually bugging me, but if I am constantly re-visiting a photo with a question in my mind, ("what's wrong with this picture?") then chances are, that I will sooner or later, be changing something.   
Most recently, the photos of the front garden walk from my last post "Miracle Grow", were not doing it for me.  I knew that for an English Garden, the front walk, was lacking some significant color.

the front walk "in progress" with oregano

And so I began at the top of the walk and worked my way down the stairs.  To draw the eye up, I added an acid green creeping plant, a golden oregano, close to the front door, used as under-planting for the purple heart and the finished tulips that are growing there.   The vibrant golden oregano that now skirts the hard edge of the flower bed, visually softens it and provides that extra jolt of hot color that was needed by the front step.
this is my second adjustment
the photo below was the first 
You can see how effective the acid green is with the purple leaves; it really makes them stand out.  I have bushels of this growing in my own garden so this was an obvious solution for the mini one.
After looking at the photo below for a long time, I saw that the oregano would look better if it were extended the entire length of the flower bed rather than stopping half way across.  
Even though I had already thought that this bed was "finished" for the second time, I was still making additional changes to try and get it right.
After making more oregano and re-taking the above photo, I was amazed at what a difference this made to the continuity of the border .  It made sense, it looks better and 
there is More Color!

below is the 2nd "before" and above is the 3rd "after"
now it's clear as mud, right?? :)) 
 Toadflax

I made a weedy type of plant that "grows like stink" in my Real Life garden.  I only recently found out that it has a proper name.
It is called Ivy-leaf Toadflax.  

This mini plant should have a red-ish stem but I wasn't able to achieve that effect (yet), but the tiny violet flower that it carries you can easily see. 
In real life, this little creeper climbs up walls and spreads out, over, and/or through other plants, I have this doll's house version crawling all over the sweet alyssum at the base of the front step.
I would normally be yanking it out by the roots to try and keep the Toadflax under control, but I am letting this miniature version alone to grow freely in my doll's house garden. 
:))
the making of Irish Moss

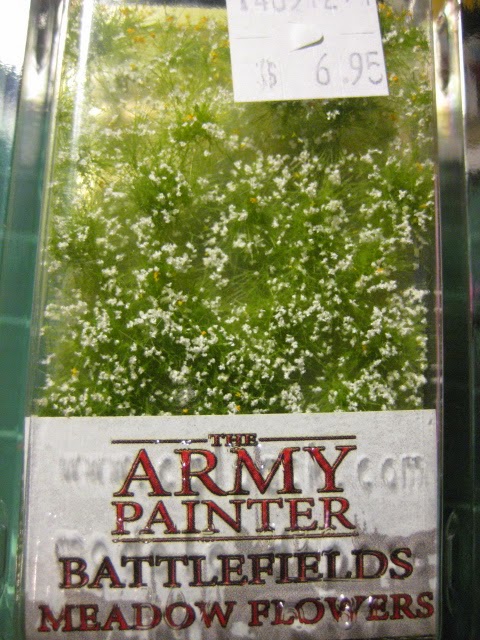
A quick trip to the hobby store is where I found some army 
(and /or), railroad landscaping foliage called "Meadow flowers".  In the package it looked like 1:12th scale Irish moss.  The very dainty flowers cost me $7.00 for a very small package but it was worth every penny because it was ideal for this miniature garden.
The package contained both yellow and white meadow flowers and so I tried to stretch it to both sides of the front garden walk.
this is what the product looks like out of the package

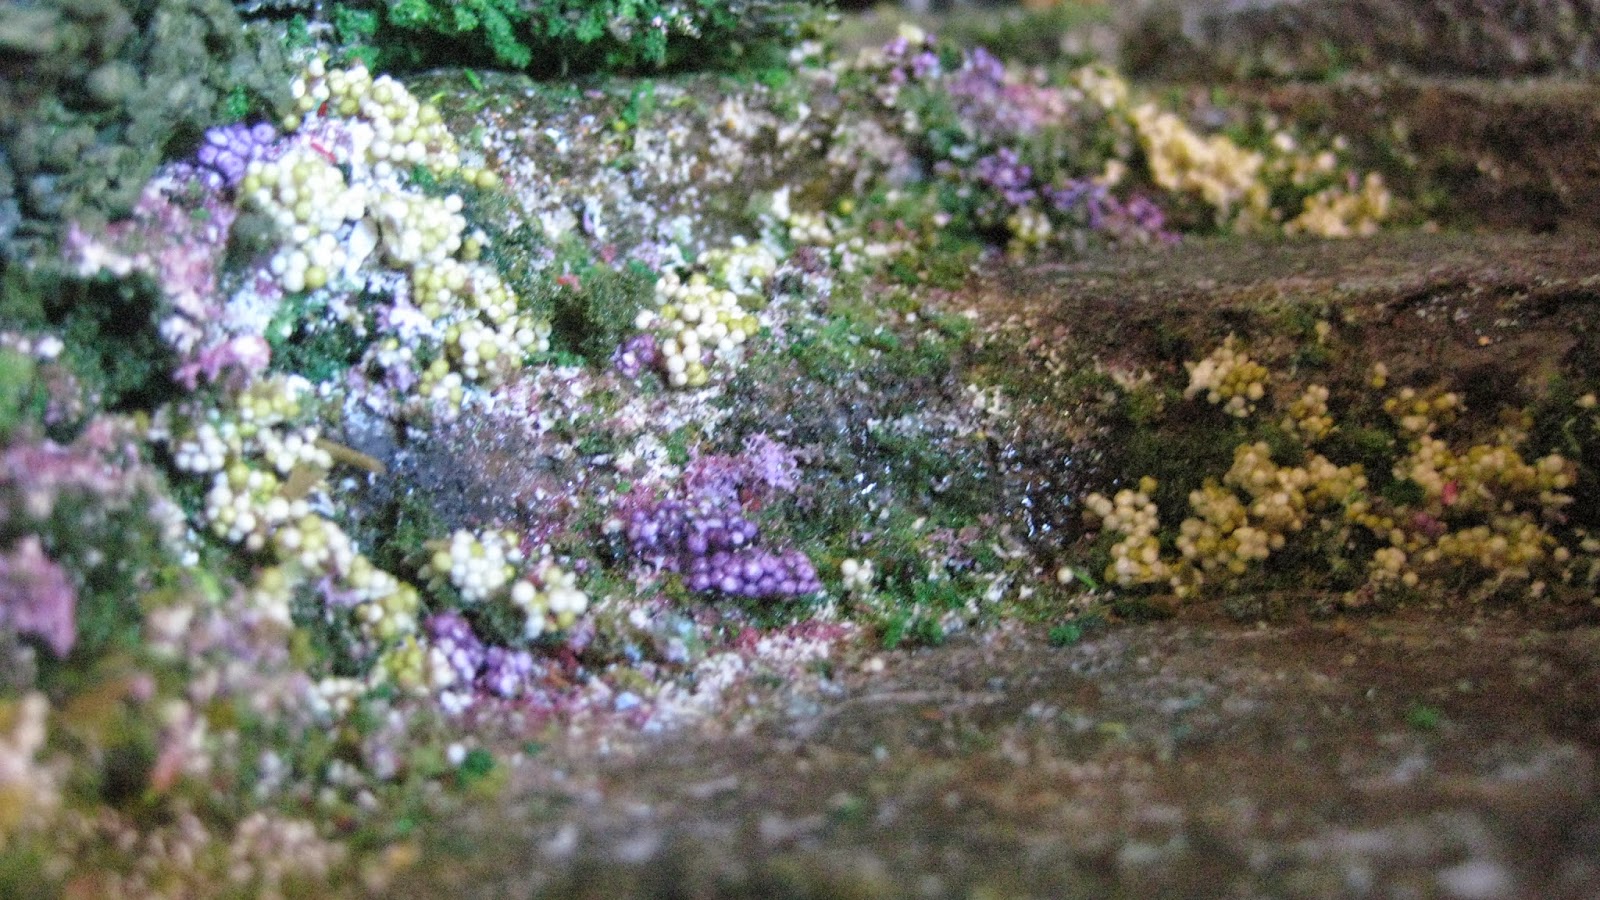
I had already made and added the dense pink soapwort, (a creeping plant I made from"cut and paste"fabric plants and pink wax crayons).  To increase the Color Quotient and intensify the color mix I perked up the walk with some purple campanula (grated purple kitchen sponge) for the left side of the entry and also a small bunch of switch grass for added interest.   I placed the white meadow flowers "Irish Moss" on the step below, in with the sweet alyssum.
The Soapwort, Switch grass, and Moss with the Alyssum

This was inching closer to what I was looking for but I still wanted 
MORE COLOR!
 My earlier geraniums, went from a peach to a deep pink, then I removed the boxwood ball that use to be there and replaced it with 2 pots of rich, red geraniums placed directly underneath the pink ones .
This was looking better and better and more like the 
 English Style Garden that I had in mind.


Having beefed up the visual impact of the geraniums, I returned again to the Irish Moss.  I really liked the tiny yellow flowers of the moss and I wanted some more.  I just so happened to be in the Thrift Store last week where I spotted this artificial primrose plant for sale.

Very cheap; so the price was right! 
the flower centers, had just the texture that I needed

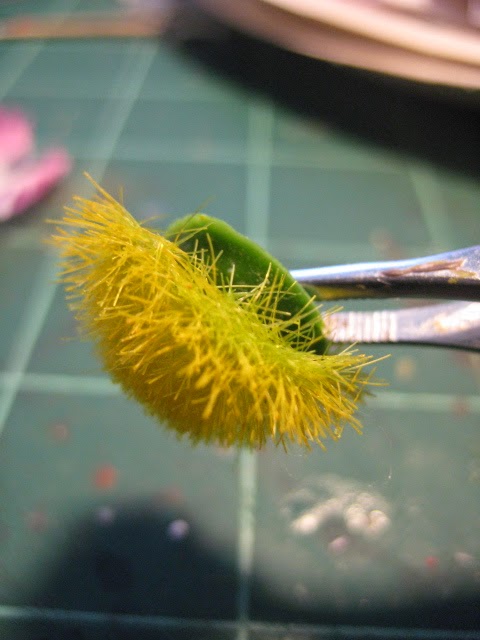
I clipped the stamens from the plastic stems
initially I was going to use them as mounds.

But then I saw that the fibers could easily be peeled away from the plastic head.

so here is what it looked like- 
Big Fuzzy Yellow Caterpillars.
I needed them to look more like Moss so this is what I did...

I used some Super hold hair spray as the adhesive and sprayed some of it onto waxed paper. 
I divided the hairy yellow stamens and dipped them into the puddle of hairspray.
This artificial turf is fine enough for moss all on its own, but also works well when it is mixed in with other materials.  For this project I sprinkled it directly onto the fuzzy wet stamens and then worked it down into the fibers with a toothpick. 

This toned down the yellow and gave it more realism.

Ta-dah!
My new Irish Moss

I applied foam glue to the back of the clump and installed onto the steps 

 I have the tendency to "polka dot" plant in my Real Life garden, which is a bad habit that I am trying to correct.  To me, gardens look better when the plants are grouped together en-masse, rather than "a little here and a little there".  I made a conscious effort to group the miniature plants closer together. 
I had to make myself do it.  
My objective for the front walk was for it to look not only colorful, but lush and full, rather than disjointed and spotty.

So I added even more homemade Irish Moss than I had originally planned.   I filled in the gaps which of course, gave the front entry 
More Color. 

for the tiny flowers, I grated some wax crayons 

I lightly sprayed the moss with hair spray and sprinkled the shavings onto the top.  Some stuck but most didn't.


I brushed off the excess

and this is the result

More color and much better!
:D
***

(interlude)
As I was busy working on the moss, I happened to find an old  laser cut kit of a pair of paper gardening gloves, with a hand trowel and a garden fork.  To paint them, I left them barely connected to the paper template.  I used a silver nail polish for both sides of the garden tools.  For the gloves, I bent alternate fingers so that the fingers wouldn't stick together, and then I painted both sides of the gloves with white liquid paper correction fluid.
I used this because it would give the flat paper some texture and dimension.  I gave the gloves a couple of coats each and then used it on the handles of the garden tools as well.

Liquid paper dries rather quickly, but when it is applied as thickly as I did for the gloves, it took a lot longer to completley cure. 

the original paper template
the paper correction fluid 

the paper garden tools in progress 


the garden tools and the finished gloves

Once dry, the gloves were painted with a brown acrylic paint and then when that was dry, I curved the fingers and the palm of the gloves so that the paint would crack and give the gloves a well- worn leathery look.  I cut two narrow strips from the left-over template to make cuffs for the gloves.  For the garden tools,  I applied several layers of liquid paper to build up the handles so that they would look more dimensional and would be easier for the gardener to hold.
These will be featured again in the garden, at a later date.
And so  another task has been completed.
***

Then it was back to the garden entry for some additional fine tuning.
I was constantly assessing the development of the garden walk, by taking picture after picture.  It is easier for me to see what I am actually doing with more objectivety via photographs, than it is to be looking at the actual project.  Through viewing the photos through the camera lens, I found that the stone was reading way too dark. 
I lightened up the stone steps with some highlights so that it would not only look more like stone but also so the plants would blend better.
Tai the cat has settled himself in the sun, where he surveys the entire front garden walk.
Both Tai and I agree, that this path is now
 Full of Color!


  which for me is practically
Purrrrr-fect!

*****

To all of my

New Followers, 
Welcome!
 and to those of
Long-Standing,
Thank You 

for 
visiting!
It is
always a pleasure 
to have all of you here,
and do
 come again soon!
:D


elizabeth

Monday, 15 September 2014

"MIRACLE GROW" part 1 of the garden of #43


I didn't always enjoy gardening, but it was something I became very passionate about in the late 80's.


#43 with the outline of the garden and the old climbing rose


My interest grew over time until it came to pass, that during the 1990's , I was in the garden more than I was out.   I knew all of the botanical/ latin names of all of the plants in my garden and by the time I sold the house, I had cared for and cradled my wonderful garden, from its tiny infancy into its glorious maturity.

BUT
that was way back then.


Over the last 10 plus years, I have enjoyed my present garden a little
 less each year.   It is so big that I all I ever seem to do is clean it!  It is hard to sit in it and fully enjoy it because whenever I look anywhere, there is some job staring back at me calling my name
or just crying out
"HelP!"


Anyway, most of this past summer was all about the avoidance of my REAL GARDEN and gearing up for the work on my miniature garden of
 
#43 Green Dolphin Street.
Since my last post, I have been working night and day on it. 
NOW I had to try and remember what grew when, where, and how?   I pulled out some of my dusty gardening books, searched the internet, and looked out of my studio window at my rather neglected, Real Life Garden, and tried to get ideas and encouragement for what I thought I wanted to do in miniature. Most of all, I tried to  learn how to evoke the impression of and an interpretation of of a Romantic English style garden.


I have just completed the entrance and the right side of the garden in front of the kitchen window.
I shall begin again, with the front steps and then the make-shift rose that really got the ball rolling.


Your GARDEN TOUR starts now

Almost all of the plants in my garden "grew" the same way; that is, by"cut and paste."
I cut portions of existing floral materials and pasted them onto other cut pieces and then unified the whole with paints.

Most of the plastic plants came from the thrift stores but I also bought some from Michael's craft store, on-line at Factory Direct Craft, and the local dollar stores.
I look for stems that have tiny leaves in all shapes, interesting stamens,  and tiny flowers or fuzzy bits that can be cut and re-configured. 
I give an example here of some of the simpler plants, but the idea carries through to nearly all of them. I haven't begun the flower kits yet, as they are for the other side of the garden.  

the foam balls that I cut from the stems for the ground cover


As you may recall, I had some moss growing on the front steps.
My intent though, was to have as much growing in the garden as I could muster up for this house and so I decided to add ground cover plants that would creep out over the stone and soften the look of it.
I chose to represent SWEET ALYSSUM  in both the white and the mauve colors.
I used some green railroad model foliage for the base and used snippets of artificial foam flowers that I clipped from an artificial "mother plant". 

(see above )

I draped the plants so they conformed to the shape of the stone stairs.  I wanted the white alyssum to be the most dominant but the purple to weave itself through it for added interest.
the sweet alyssum mix
the new garden entry 

 And now for THE ROSE

I reworked the rose that I originally made right after Janine and Fatima were last here in for our Miniteers Meeting.
That same evening, I made roses out of white photocopy paper, trying out a tutorial that I had seen on Pinterest for scrapbooking.
After I made a handful, I glued them to some greenery that I had.
THEN I DECIDED TO PAINT THEM RED!

(I seem to like working backwards)
So what you see in the second photo from the top of the page is what I did several months ago.
I wasn't about to make any more roses, but I knew that I did need to shape up the rose structure and make it appear more rose-like.  I ended up gluing on some more leaves which I clipped from a vine purchased from
 FACTORY DIRECT CRAFT.
It had a fern like plastic vine twining around some other greenery.  I snipped off the fern, and groomed the leaves back to 5 only.  I used Quick Grip glue for plastic to make them stick.
When everything was on, that I wanted on, I shaped the rose to a more compact version, and began to paint the new base and stems, to unify it all.
I have found that glass and tile
air dry PERMA ENAMEL water-based paint, will really stick to the plastic and not puddle. 
 I painted it with straight acrylics after I got the color on the canes and the leaves, then I touched up the roses and made the centers with grated yellow wax crayon.
Using the wax crayon worked better than I thought and now I am determined to get a full box of
Crayola crayons and grate even more colors!
I used  a very fine grater, but a nutmeg grater would work too.

the finished rose
the red red rose
and a little brown bird

After the rose was planted by the front door, I turned my attention to the cement wall that would have the garden running along the inside.  Because of some previous re-thinking about a waterfront property and the revised property in town which I talked about in my last post, I was needing to level the gap between the top of the lawn and the retaining wall.  I pinned it in place with wooden toothpicks and backfilled it with chunks of styrofoam, painted first with brown acrylic paint and then white glue and used dried coffee grounds for the look of a very rich looking soil.
To finish the open end of the garden, I used draping plants, a
BROAD LEAF FERN, which was originally from a fish tank medley of greenery, purchased about 6 years earlier, from the thrift store.  I bought it during my "I'm not into miniatures" phase that lasted a full 12 years.  Obviously, the sub-conscious desire was still there, because I held onto it, regardless of my supposed disinterest.
I made a HOSTA from the silk leaves of some plastic bundle that I got from somewhere and glued a piece of fabric coated wire from the tip and all along the length which extended about an inch and a half, to allow for insertion into the dirt.  I shaped it and painted it with
 REVLONS MATT NAIL VARNISH 
to cut some of the shine. 
later on I decided to add the off-white flowers that grow from it although they would not be in season until later.  
call it 
"ARTISTIC LICENSE"
I made the BLOOD GRASS from a larger grass bundle that I simply cut down the center of each blade to make them to scale and then tied the ends with a very fine beading wire.  After which, I then poked a hole in the dirt and squeezed in some glue and planted the bundles and fanned them out.  I love the effect that they give.
Right behind the Blood Grass is the
SWITCH GRASS. This grass was from a floral decoration that I bought from the thrift store.  The pot was ugly, the flowers were ugly but the grass was PERFECT!
Not only was the scale right but so was the color.  It lifted out of the floral foam easily, and since it was already bundled at the ends, I just cut it to the length I wanted and retied it and planted it along the cement wall.  It moves with every gentle breath and the feather bits give the garden a fairy tale quality that I truly adore.

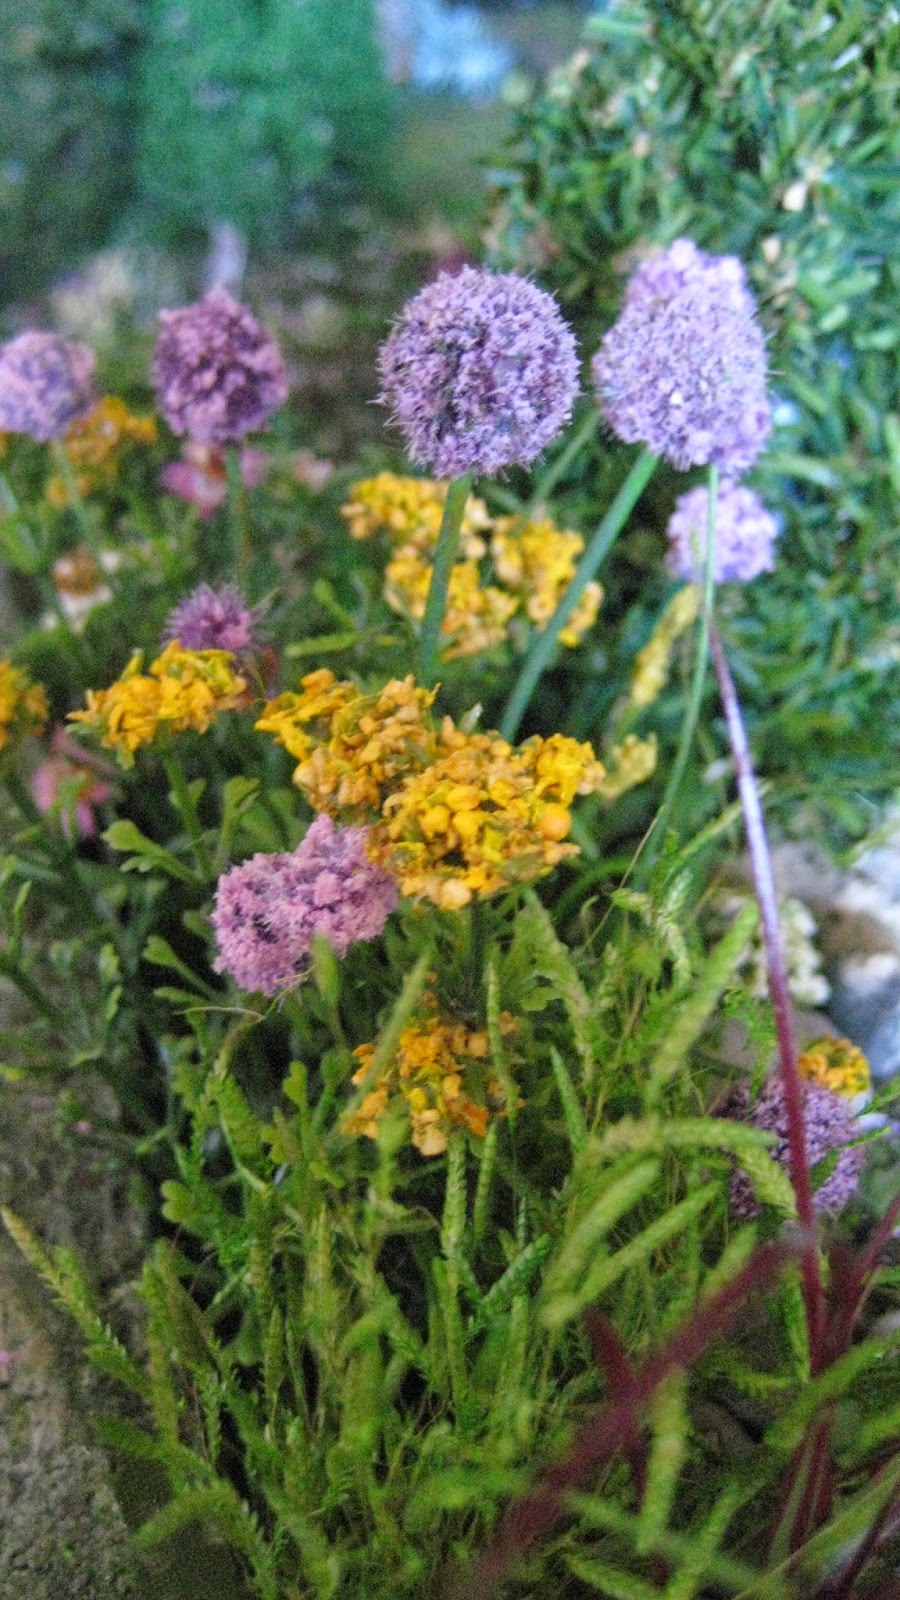
Although I have NOT had any luck growing ORNAMENTAL ONIONS in my Real Life garden,
I was pleased with my successful endeavors in miniature.  The ball heads represent two different varieties. Originally purchased as a part of a larger plastic flower with white fuzzy balls attached, I was able to dye them with purple ink and then roll them in clear gel glue, followed by a pinky mauve flower foam.  I drilled a hole with a push pin and inserted a green wire stem and planted them next to the grasses.  As a companion plant, I then added
YARROW, using for stems a ferny looking plastic greenery purchased from the dollar store.  The vase shaped tops were filled with white Foam Glue and then dipped into grated Yellow Wax Crayon.  When dry, I lightly went over the tops with 'Yellow Moon' Folk Art acrylic paint.The combination of golden yellow and purple/pink is very pretty to me.
Next up...

NIGELLA
I have never seen a  Nigella plant before so I had to go entirely by a photograph.
I chose to include it because it was said to be a popular English Cottage garden favorite, commonly called
"LOVE IN A MIST" and it had a feathery foliage that I already had on hand, compliments of the dollar store's fish tank supplies.
The paper flowers came from a floral vine from
Factory Direct Crafts, which I separated from the vine, removed the top layer, cut the petals, glued on plastic stamens robbed from another source and then dipped into a yellow fiber that I made.
The flower were bunched and tied, planted and painted.  Afterwards, I found some old air fern that I also poked into the plant which gave it an even more ethereal appearance.
below is a close-up
LOVE IN A MIST


At the end of the row is a cone-shaped pine which use to be a topiary in a christmas theme miniature pot.  I cut the pot off and left enough of the dowel to insert into the styrofoam.  It serves as part of the foundation planting.  I left it much as it was when I found it.
I used a collection of tiny rocks that had flat bottoms and placed them in front of the border and then inserted more SWEET ALYSSUM and BLUE FESCUE grasses and allowed them to spill over the rock border to soften it.  The bits and pieces that fell off the plants and onto the lawn, I left in place.  

After I built the rose,  I was not sure how to fill the space next to it.  I had a tall shrub which I suppose was a holly because of the tiny red berries.  I bought it after Christmas season and just removed the disk that it was inserted into and stuck in the ground at the corner of the house.
I wanted a big floral something next to it so I took the entire head off a plastic stem and reformed it and tried to make it look like a
DAPHNE or HEBE.  By inserting tiny green plastic leaves, I feel it looks close enough.

To the right are a patch of
FRENCH MARIGOLDS.I used the button flower centers from another plant and dipped the heads into glue and yellow wax crayon.  I then added gold, orange and red and glued the heads onto more aquarium foliage torn into sections and secured with Quick Grip Glue.  Because the green plastic is almost fluorescent, straight from the package, it Really needed to be painted. I painted it first with a base coat of the REVLON'S MATT NAIL VARNISH, and then a number of different green acrylic paints.  The gold and green echo the Yarrow just opposite.   

French Marigolds
Sweet Alyssum and French marigolds
Just before I added the Marigolds, I made a bed of
 BLUE FESCUE.
The blue grasses were chopped from a branch of green plastic tufts which I painted to match the ones that I have in my Real Life Garden.  They have a sea urchin appearance but make a lovely foil for the Marigolds that I later planted in front, as well as, the Sweet Alyssum that now weaves and spills over the rocks.

BUGLEWEED

I tried a lot of different ideas out before I settled on the AJUGA a.k.a.  BUGLEWEED. I love this plant in Real Life and now I have some in my miniature garden too!
There are a number of different varieties on the market but I have chosen
Catlins Giant which is nearly black with green, blue, brown, red and silver shot through it.  Trying to get the right color was the trickiest part of the procedure.  The plant itself is simply glued layers of sections of a plastic round leaf plant, stacked up and spread out to get the form.  Then snippets of a glass beaded wire stem were cut and curved at the base and glued in as if it were growing out from it.  Everything was painted in situ, using a photo as a reference and guide.
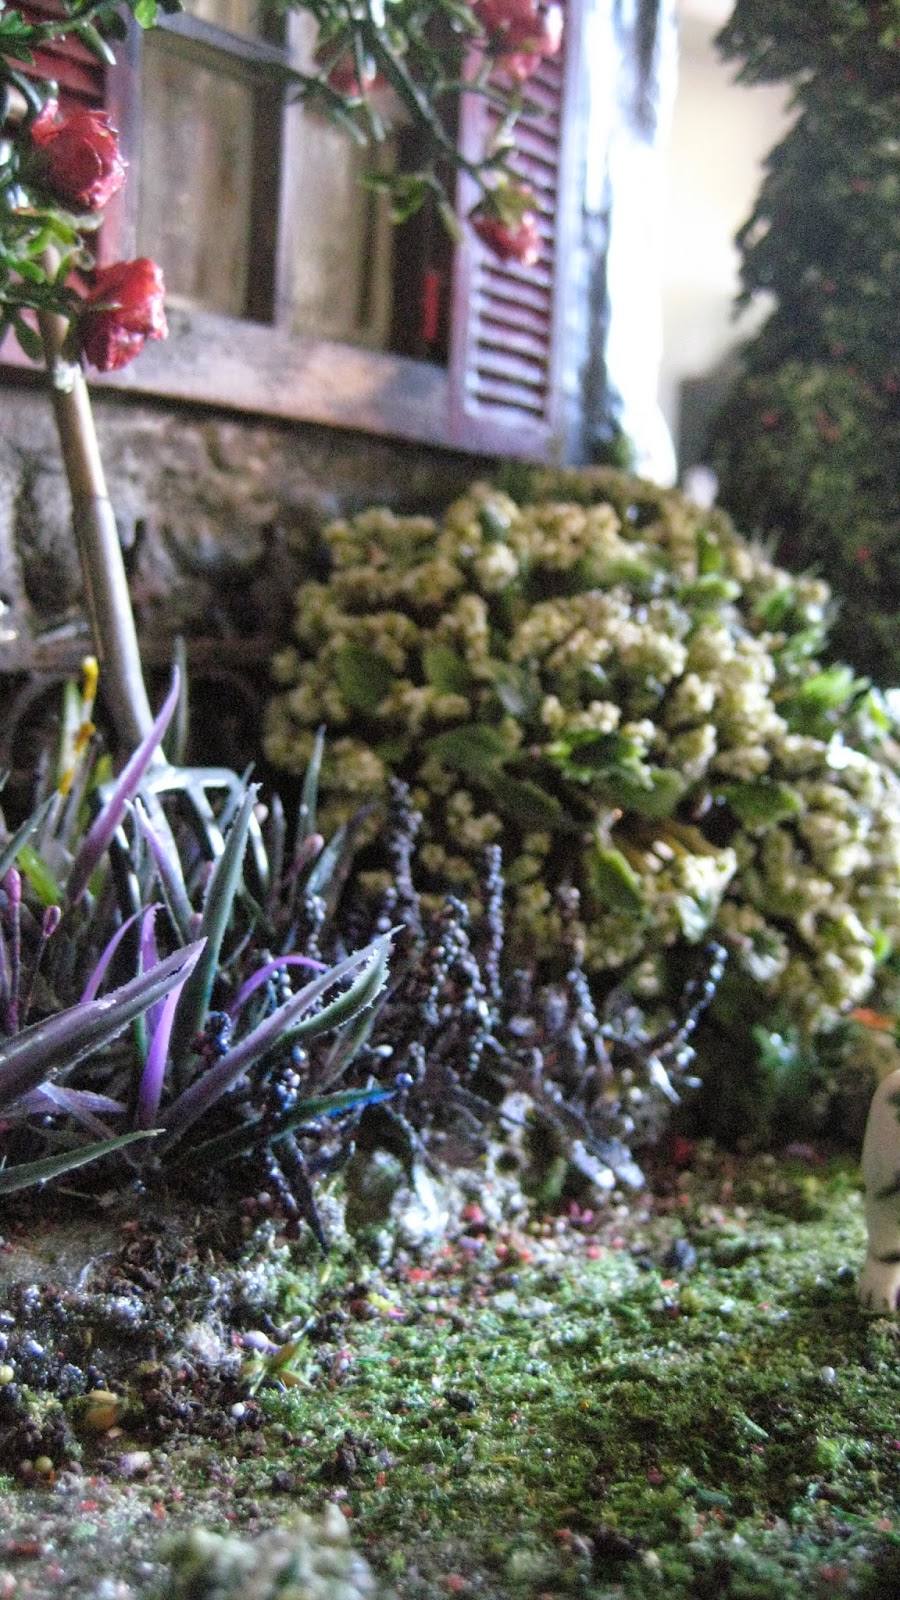
Just for fun I took a section of plastic iron railing and placed it against the cottage wall.  The garden pitch fork is dug into the earth leaning against the shutter.  Perhaps the gardener is getting ready to lift out the
TULIP BULBS that have already finished blooming?
Can you see the yellow tops of the finished flowers?

This plant is called
PURPLE HEARTI love the colors and the look of it.   I again had a stem that had smaller parts that when cut and bunched together were reasonable facsimiles of what I was trying to grow.
After I installed this plant, I decided to add the 3 spent TULIPS.  They show only the leaves and the stems,  (which were originally the pale but very interesting stamens of another full-sized silk/ plastic flower).  They are to the right and in behind the PURPLE HEART.
You can just make out the green leaves of one of the tulips at the extreme right  in the photo below.  
And Last but not Least is the coral pink GERANIUM.  The flower heads are from dried flowers that I picked off and crushed, then dipped sections of plastic flowers into glue and then the dried bits.  When set they were painted and inserted into old foliage that started out as aquarium plants.  The Geranium is growing along the garden entry with the Sweet Alyssum just below.

A view through the garden gate


grrrrrr ><  
Of course, what is a garden without a DANDELION weed or two?  
(such a wonderful idea that I owe entirely to 
Tatiana of 
"My Little Dream" )
But the weeding will just have to wait,
because
 I'm going in now

 to
 take
 a
 nap


toodles  everyone

and thanks again for stopping by
***

elizabeth

DO OVERS! a Glencroft Living room redecoration

    Back in April of 2022, I made up a storyline for my Glencroft renovations, which went something like this...   "After due considera...