 |
at Land's End next, however, since I still needed to finish the kitchen/corridor/ bathroom interior wall, I opted instead to build the bedroom which was the lynchpin connecting each of the remaining spaces to each other and so, by default; leave the kitchen tour for MY NEXT POST- Cross my heart!😇
⚓️
FYI:
RECENTLY I FOUND THAT 23 OF MY PHOTOS FROM THIS POST WERE SUDDENLY MISSING! I HAVE TRIED TO REPLACE THEM BUT IN THE PROCESS, I'VE ALSO HAD TO REWRITE THE ENTIRE TEXT, SO IF WHAT YOU REMEMBER SEEING THE FIRST TIME AROUND LOOKS DIFFERENT ( MORE CONDENSED) THAN WHAT YOU REMEMBER: IT'S BECAUSE IT IS!
And So....
As usual, the bedroom project was nothing like I expected it would be. I kept running into problems from the jumpstart.
The first one was with the 2015 wallpaper template I'd made.
The spray glue I'd originally used on this REAL LIFE vinyl coated wallpaper, had begun to 'unstick' and was literally coming apart at the seams.
The first one was with the 2015 wallpaper template I'd made.
The spray glue I'd originally used on this REAL LIFE vinyl coated wallpaper, had begun to 'unstick' and was literally coming apart at the seams.
But when I tried to remove it altogether, it still stuck tight to the template in certain places, so to avoid tearing the paper and making an even bigger mess,
I reglued it using LOTS of Fabri-Tac and a brayer, which thankfully worked like a charm- HOORAY!
I reglued it using LOTS of Fabri-Tac and a brayer, which thankfully worked like a charm- HOORAY!
I did however, manage to cleanly remove and replace the 2015 wide blue stripe with a lighter narrower stripe, which I liked better.
 |
the replacement paper for the in progress bathroom, is shown below.▼ I'd like to mention right here, that one of them more challenging features of this HBS Denise Kit, was trying to cut clean curves at the top of the interior walls in order to measure and cut the adbutting walls which needed to be at different heights due to the downward sloping curve of the roof; lets just say that there were plenty of Do-Overs! 🤬 Land's End Bathroom under construction  |
 |
Anyway, once the template was glued onto the wall, I cut out the window opening and inserted a plastic sash window retrieved from my drawer of homeless windows of long discarded projects. At one time, the plastic casings must have been bright white, but it's yellowed over time: I'm okay with that, since it adds to the general OLD COTTAGE vibe. I popped the window in place and then made the interior wall between the bathroom and the bedroom. My original idea was to position the bed as illustrated above, and have the chest of drawers against the long wall. But there were a few problems regarding the sight lines of this particular arrangement. When I look through a window, or door, from either end I wanted to see through the ENTIRE length of the house so the blockage of the chest of drawers in direct line with the bedroom door needed to be changed and since there was no where else for it to go other than where the bed is; they had to switch. |

 |
| The bed immediately dominated the room! To visually balance it I chose a bigger wardrobe. and I liked it! 😎 But then another problem presented itself. The inward swing of the door would bash right into the bedside table. 🤨 |
 |
| There's never enough room when you need it! |
 |
| So to fix that problem, I reversed the swing of the door to open OUT into the corridor rather than into the bedroom. because extraordinary times call for extraordinary solutions!🧐 This cottage is quirky to begin with but now I'm also IRRITATED with the 'Quirky' porthole window! |
 |
ah yes, the porthole window which seemed like a good idea at the time. It's an interesting feature from the living room side but a waste of valuable wall space on the bedroom side! Why Oh Why did I ever do it!????? 😭 WHAAAAA! - ⚓️ I decided to dress the bed. I had some 2nd hand books of antique quilts. I cut out a couple of pages, resized and photocopied them, then laid the paper over the bed as a spread to see which I liked better with the folded quilt. |


 |
| I decided to go for the more floral one, and colour copied it again but this time I printed it onto a printable iron-on cotton sheet. (Walmart) I sprayed the printed cotton, with hairspray to set the ink, cut it out, then peeled off its protective backing. I turned the raw edges and secured the hem with Fabri-Tac. The aged patchwork quilt came from an estate sale that Fats and I attended a number of years ago, but the bed warmer is a recent ebay "lot purchase" of assorted miniatures. |
 |
 |
 |
| The bedroom was slowly taking shape |
 |
 |
| The roomy wardrobe came from M for Miniatures on etsy https://www.etsy.com/ca/shop/MforMiniatures and I'm still in the process of filling the shelves and the bottom drawer. I'll probably move the spare blankets and sheets into the drawer and fill the 3 shelves with folded faux"clothing". |
 |
⚓️ There were some MUST HAVE items I'd hoped to include somewhere in the bedroom: a sailing ship, (which didn't stay long) Lidi's Fabulous Fishing creel, and a 1776 estate sale snare drum. I placed them all on top of the wardrobe: and then kept changing them around. |
 |
| I also made the area rug for the bedroom using a photo from a book of contemporary area rugs which I resized and re-printed onto a sheet of velvet paper. |
 | ||
I found this wall map in a design magazine which I cut out as is, glued to some cardstock, then added a top and bottom rod along with a thin cord for a hanger. I LOVE the effect! 
|
 |
 |
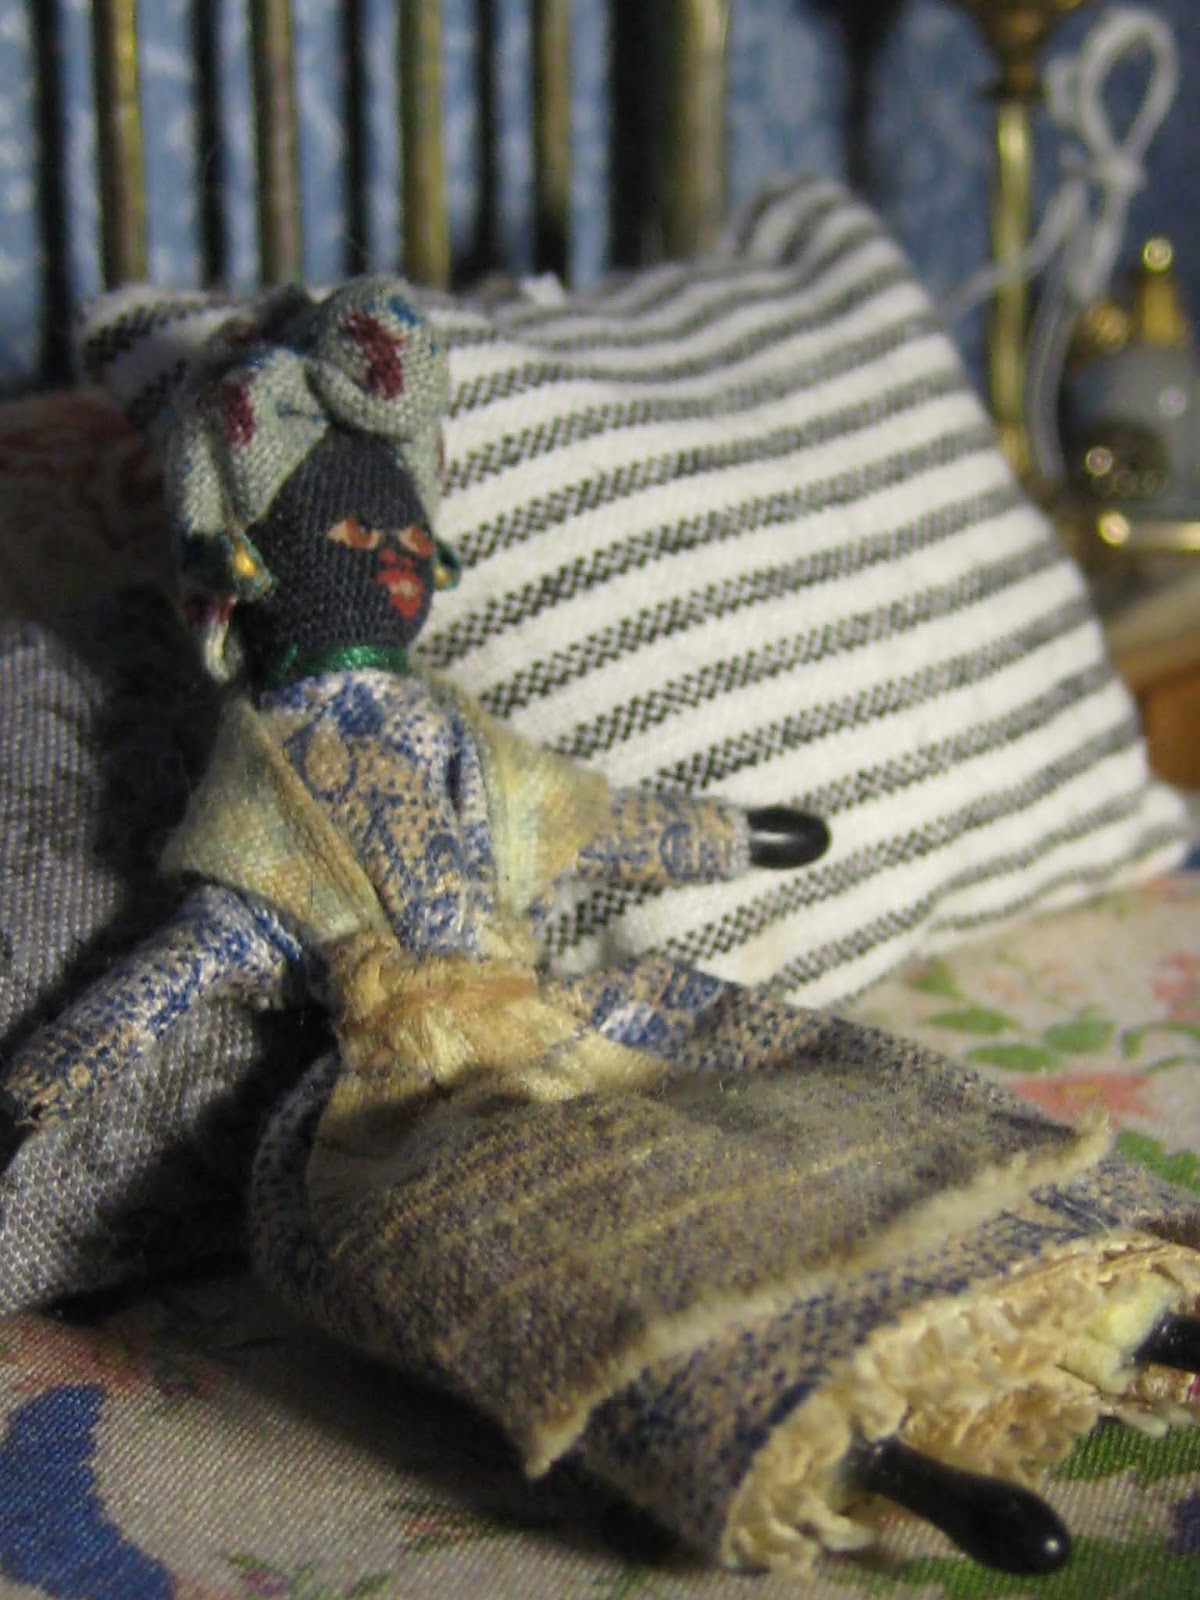
| I had purchased the Uncle Sam doll at the same time as the black doll back in the 90's, and only wish I could remember the name of the artist. I had placed them both on the bed but then felt that the bed looked crowded so eventually I moved Uncle Sam onto a chair in the living room. |

 |
And as you also see above,
I've changed the lamp shade from
the larger white one to the smaller parchment coloured shade.
the larger white one to a smaller
parchment coloured one.
The reduced circumference of the shade
allowed the lamp to be a millimeter closer to the wall.
Even so,
Even so,
I may audition another 'shade in waiting'
before I'm fully committed to this one.
⚓️

 |
| the decorative wall plate was included in the same lot purchase on ebay as the copper bed warmer. The bedside table originally was stained a mahogany which to me, looked too formal for this cottage bedroom. |
 |
| So I painted over the stain with a white chalk paint and then applied a series of thinned paint washes until it looked like "driftwood" as pictured below. |
 |
| Later on I felt that it needed a bit more colour so I used a diluted blue ink and gave it a few more ink washes, and blotted off the excess until it looked like the photo below. I'm pretty happy with the final results so I'm leaving it alone! |
 |
| the dyed and stained bedside table |
 |
| I made the lace edged curtains from a vintage cotton hanky which I wet with water then sprayed with Plaid Stiffy after which, I pleated in the Pretty Pleats rubber mat, until they dried. |
 |
| The Carte Postale throw cushion was made by Norma of Make Mine Mini    self-seeding red poppies made by our own Dear Betsy of All About My Dollhouses. these were part of an earlier swap which Betsy'd made especially for Land's End. Eventually I hope to make an entire garden surrounding this cottage, filled with a variety of bold, vivid summer flowers but the poppies will live exactly where they've now planted themselves!   I decided to retrieve my Monica Roberts sailor dress and cap which was one of the worst casualties of those 12 years of neglect in my garage. The cap absorbed the worst of it and is badly stained as you can see in the above photo. The dress has a couple of tiny brown spots on the back. I've tried a Tide to Go bleaching pen on both without much success. Even so, I've hung the dress on the wardrobe door and it makes me smile to see it there.     The stack of books is a mix consisting of one that I made; one that Jodie made: My Miniature Madness and the top two came from Andrea Thieck of Andrea Thieck Miniatures Time for one last look around: |
 |
| The sun is setting |


 |
| The tides come in |
 |
 |
| An ocean breeze blows in through the window and it's time to get ready for bed |


|
 |
| so it's Lights OUt @ Land's End, (until I decide to change something else!) sweet dreams and May GOD Continue to Bless and Keep Us All Safe and may HE in HIS eternal wisdom, bring something GOOD, from our world's current state of chaos and confusion. Keep the Faith! ❤️ elizabeth WWG1WGA |
.jpg)

