"How many kinds of sweet flowers grow,
In an English country garden?
We'll tell you now, of some that we know;
Those we miss you'll surely pardon.
Daffodils, heart's ease and phlox,
Meadowsweet and lady smocks,
Gentain, lupine and tall hollyhocks.
Roses,
Foxgloves, snowdrops, and blue forget-me-nots
In an English country garden."
 I made gate posts to support the gate, on both sides from 1/2 inch square basswood, which were painted black. Finials were made of stacked beads, also painted black and glued to the tops. To keep them upright and stable, I drilled a hole into the bottom of each post and then drove a section of a toothpick up into the post and then "planted" the toothpick into the styrofoam base. It is not glued in so if I ever need to remove it, then it will just lift out without too much trouble.
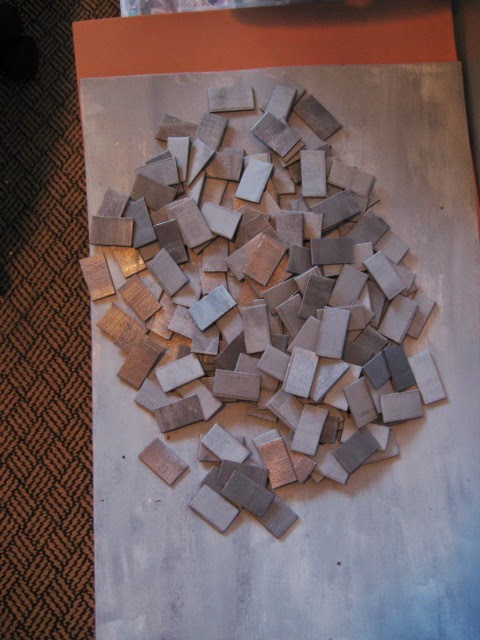
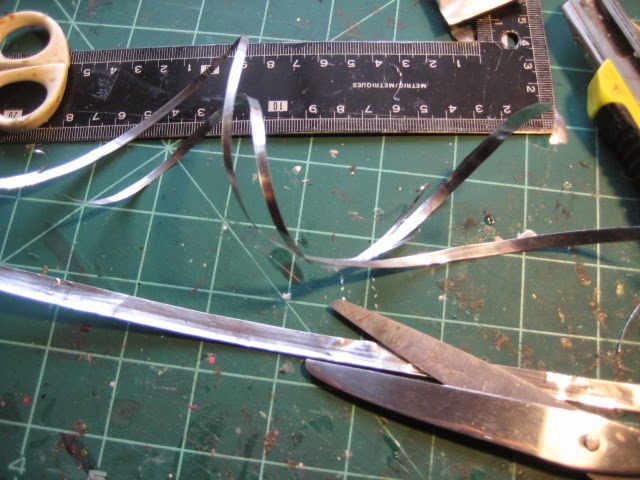
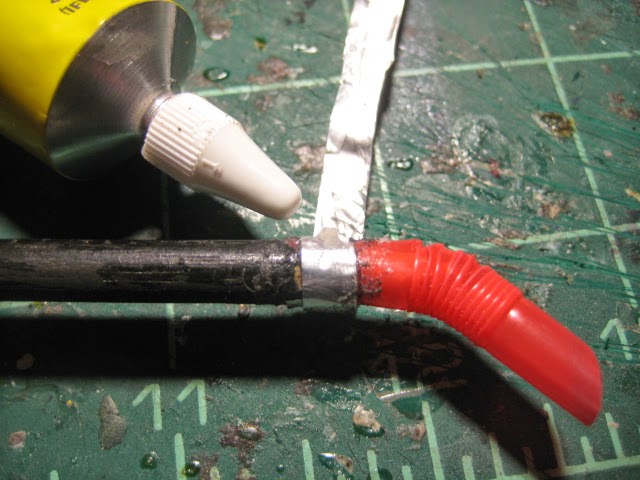
 The textured work on the front and back of the posts are the same metal strips that I used in my
"A Grater Love" tutorial. I needed some kind of ornamentation for the plain looking posts and tried them out. After I painted it, I referred to Brae at Otterine blog, for how to paint authentic looking iron. She used a black with a light dusting of gray for the iron grate in one of her wonderful dollhouses.
I lightly dry brushed the Slate Grey acrylic paint over the black, as she did, but then I also used Brown Iron Oxide and Hunter Green Transparent glaze to give the iron gate and fence, the appropriate age.
The fencing is the green plastic farm yard fencing that I cut in half to lower its profile. It was a good thing that I did that too, because not only did it make the flowers more viewable, but I was able to use the bottom sections to extend the fence further along the stone wall as I did not have enough of it otherwise.
AND
you should also see the Incredible yellow onions that she made for Janine and I.
Go to Minworks blog and have a look at not only the Fab yellow onions but also Janine's Fabulous French house and Garden.
It's high summer over there, so don't forget your sunscreen!
An English Country Garden
We'll tell you now, of some that we know;
Those we miss you'll surely pardon.
Daffodils, heart's ease and phlox,
Meadowsweet and lady smocks,
Gentain, lupine and tall hollyhocks.
Roses,
In an English Country Garden"
In an English country garden."


 |
| I don't recall what year it was that I purchased this iron gate but I do know that it was from the Seattle Show, that Janine and I attended; probably in the late 90's. It has been collecting dust for over a decade, but now, AT LONG LAST it has found a permanent home. |
The textured work on the front and back of the posts are the same metal strips that I used in my"A Grater Love" tutorial. I needed some kind of ornamentation for the plain looking posts and tried them out. After I painted it, I referred to Brae at Otterine blog, for how to paint authentic looking iron. She used a black with a light dusting of gray for the iron grate in one of her wonderful dollhouses.
I lightly dry brushed the Slate Grey acrylic paint over the black, as she did, but then I also used Brown Iron Oxide and Hunter Green Transparent glaze to give the iron gate and fence, the appropriate age.
The fencing is the green plastic farm yard fencing that I cut in half to lower its profile. It was a good thing that I did that too, because not only did it make the flowers more viewable, but I was able to use the bottom sections to extend the fence further along the stone wall as I did not have enough of it otherwise.
 |
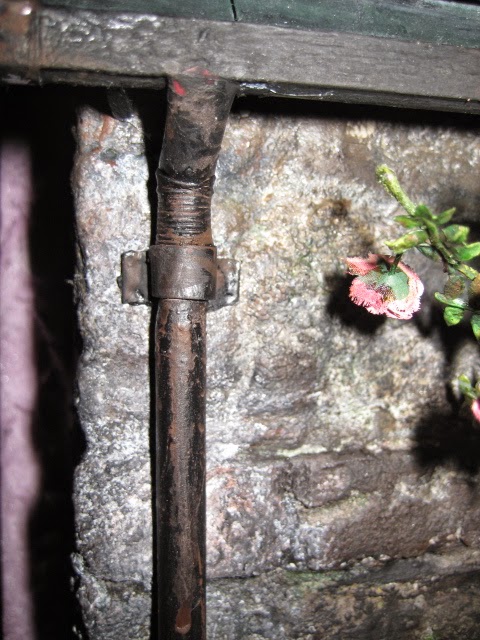
| a close up of the post ornamentation and the hole in the wall |
 |
| This picture was taken from the front door of the cottage looking to the right. In amongst the pink soapwort, is a large grouping of the succulent hen and chicks, made from dried and painted seed pods from last years Spirea. |
 |
| To the left of the front door is the garden bed as it looks now. The Miniature Garden's Euphorbia kit, is closest to the front step, with a long row of white heather running along the front edge. Burgundy snapdragaons, dill, chives and dasies fill in the bed below the parlor window. |
 |
| Purple clematis grows in front of the gothic niche that was a recent gift from my dear friend Bettie Smith. I made the wooden cross that is inside it. |
 |
| The climbing rose that I made from bits and bobs of other flower parts and stems, has been painted, shaped and then re-shaped several times, but I feel that, NOW I have finally found the right configuration for it. |
 |
| And perched within the climbing rose, is a robin's nest with a couple of blue eggs inside |
 |
| on the front step is a pot of more succulents |
 |
| ( Hello!, there is that rabbit again) "Leave those daisies alone you naughty bunny! " |
 |
| ( He'd better not be thinking about eating my Daisies!) |
 |
| "That's right rabbit. I'm talking to YOU!" (now, where was I?) |
 |
| right;...! Now, I don't want to forget to show you the right side of the garden. The lady has been busy getting the garden cleaned up and spraying fungicide on the roses. I made the vintage garden sprayer and the easy-peasy 10 minute garden basket, which I will do a tutorial on very soon. |
 |
 |
| And I made a bee skep for the garden with honey bees crawling all over it. A healthy garden is a Happy Garden! |
 |
| Further down the garden path are groupings of lilies and the peonies that I made from the re-configuring of silk and plastic flowers. Tall slivery stems of Stachys Byzantina with tiny yellow flowers are directly behind them. |
 |
| The soft pink Clematis Montana is also in bloom and has pushed its way through the bars of the iron fencing, to cascade down the broken retaining wall. |
 |
| The Clematis Montana |
 |
| Here is a close up of the lilies and the pink peonies that I made, and below is what the lilies started life as |
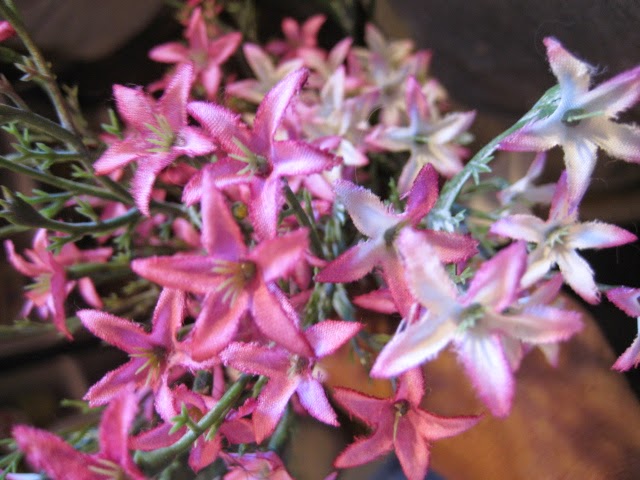 |
| As you can see, they originally looked like what I turned them into, only I remade them just a little smaller. Each flower was painted and then cut down to the proper size. It took several days work before I was satisfied with the finished flower. After they were ready, they were cut from the main stem and re-grouped and glued into leaves from different plastic plant, then bundled together to make them look cohesive. |
  |
| Now I will show you the process for how I made the peonies |
 |
| I bought a stem of Cherry Blossoms from Michael's Craft store. I chose the smallest of the blossoms to remove and also some of the buds. |
 |
| These are some flowers that I purchased from the $1 store. I chose to use these stems for the peonies because they would fill out the plant when planted in the garden with the lilies. I made some peony leaves as separate stems but neither they, nor the stems of the peonies, are really discernible |
 |
| So basically, I lopped off the head of one plant and replaced with another. |
 |
| Janine was kind enough to order a tube each of FLORA BOND for herself, Fatima and I. I have used this glue for nearly every flower project in this garden. It is just as untamable as the Quick Grip, by which I mean that it "oooooozes" like a runny nose, and so a lot of it is wasted but- on this kind of plastic IT STICKS LIKE GLUE!!!! |
 |
| This is a faux peony with the illegal stem. I pulled up some of the greenery to cover the underside of the flower head to disguise the join and then I painted the flower the color I wanted. |
 |
| I used these glass and tile water-based paints for the peonies. |
 |
| And here they are with the lilies |
 |
| ( "I Say, is that rabbit back again!?") Shoo Shoo! |
 |
| The bird bath was another gift from my dear friend Bettie Smith. I aged the bird bath and then added water made from Triple Thick, applied in 2 separate layers which I had tinted with blue soap dye. While it was wet I added the little rocks for the birds to perch on. |
 |
 |
| In the foreground are some grasses, and some bi-colored snapdragons. I made them the same way I made the peonies, by taking the heads off of one plant and joining them to another. I know that they don't really look like snapdragons but I loved the color- So There!! |
 |
| The stem on the left represents the flower Sisyenichium Striatum that I saw featured in Penelope Hobhouse's "ON GARDENING" garden book. It breaks up some of the colors within the front bed |
 |
| From this perspective you can see the water in the bird bath and the true colors of the lilies and pink peonies by me and the WHITE PEONIES that FATIMA made for my Birthday last year! (Whoohoo!) :D |
you should also see the Incredible yellow onions that she made for Janine and I.
Go to Minworks blog and have a look at not only the Fab yellow onions but also Janine's Fabulous French house and Garden.
It's high summer over there, so don't forget your sunscreen!
 |
| Fatima's wonderful white peonies are placed at the end of the garden along the side wall. They have a touch of orange in their centers so they were planted next to the orange lilies. Tucked in with them is a pale pink peony by Linda Park. I am so glad that I have been able to use both Fatima's and Linda's Flower Art In this English Garden. By the way, Linda has made a Stunning French Flower Shop which I hope she will soon be able to show off herself. She is very talented and her shop is elegant and refined and "All of the Best People shop there- don't cha know!?" :)) |
 |
| Peonies by Fats and Linda The English have a very distinct style of cottage garden that is lush and exuberant and even a tiny bit wild, which is what I was looking to achieve. I hope that you have enjoyed my mini garden tour and do come again, because there is STILL that 3rd side of the house to do! Argggggh! (will it never end?!) so there it is |
 |
"How many kinds of sweet flowers grow,
In an English country garden?We'll tell you now, of some that we know;
Those we miss you'll surely pardon.
Daffodils, heart's ease and phlox,
Meadowsweet and lady smocks,
Gentain, lupine and tall hollyhocks.
Roses,
Foxgloves, snowdrops, and blue forget-me-nots
In an English Country Garden
In an English Country Garden
There is joy in the spring
When the birds begin to sing
When the birds begin to sing
|
| "Yes mister rabbit, ... you'd better run!!! " |
elizabeth










.jpg)


