♫"How sweet the moonlight sleeps upon this bank!
Here will we sit and let the sounds of music creep in our ears.
Soft stillness and the night become the touches of sweet harmony" ♫
from Shakespeare's play
The Merchant of Venice
Here will we sit and let the sounds of music creep in our ears.
Soft stillness and the night become the touches of sweet harmony" ♫
from Shakespeare's play
The Merchant of Venice
 |
| The bedroom of Villa Leone is almost finished. ( there are still a few more things left to do on my to-do list. ) Even so, didn't want to postpone this blogpost any longer because the more I delay, the longer it grows. |
Needless to say, that I've changed and re-arranged this Venetian bedroom
many times since I began working on it.
I will review some of the major changes in this post,
which IS rather lengthy
but I've got some long overdue
"THANK YOU'S"
to Acknowledge
so be prepared for a bit of a read!
❧❧❦❧❧
Since the Leone villa is a modest dwelling,
occupied by a music teacher and her husband
(a Venetian gondolier ),
the bedroom would be somewhat simple room,
using mis-matched pieces handed down from various family members
and therefore all the more treasured.
Most of the reference materials I looked at,
were either far too grand
or
as austere as a monk's cell-
What I was wanting was something,
romantically in between.
❦❤❦
I began the bedroom with a rough mock up of the proposed room arrangement,
using as much furniture and as many accessories
as I could squeeze into the room.
I was also deciding between 2 beds;
one heavy Victorian bed and the other
a more delicate brass model.
I placed the beds in the foreground of the room with the other pieces stationed behind it.
 |
| First, I tried out the Victorian bed; pre-assembled from a vintage Realife Victorian Bedroom kit, which I found tucked away at Ross's Treasure House (a local miniature store) I then tried out the brass bed which I'd purchased half-price at the Seattle Miniature Show last March. I decided to go with the brass bed. |
 |
Of course I needed to age it and tone down the shine which I did by using a couple of light spray coats of Matte Acrylic Sealer and then some acrylic paints for the required tarnish. |
 |
 | ||||
| The Chrysolite lamp and the vintage Bakelite electric clock were items I've had for a while, but the vintage books were a gift sent to me from Andrea Thieck of ANDREA THIECK MINIATURES http://www.andrea-thieck-miniatures.blogspot.com Thank You once again Andrea! :D
 |


 |

This is the lamp after a couple of light coats of
the English Tea glass paint.
I'm quite happy with its new/old vintage look!
❦❤❦
Keli Iseecerulean Blog
http://www.iseecerulean.com/
surprised me a few months ago
by generously sending me some GORGEOUS pieces from Charlene's Legacy (some of which I'm also sharing with my friends) Thank You again Keli!
❤ ❤ ❤
The piece which I've kept and specifically wanted to use in Leone's bedroom
were the delicate vanity and the matching stool.
|

 |
| to this ↓ |
 |
| not all at once, but gradually, over a period of time but it was shortly thereafter that I began to have second thoughts about using the brass bed. so the bed was changed from this one... ↓ |


 |
| It was as I was looking for the electrical tape I needed, that I came across the pair of sconces which Janine had given to me for my birthday last year. They proved to be Exactly Right for the second floor hall. I not only love the style of the sconces but they provided LOTS of light for the second floor hallway! Thank You Janine! :D http://minworks.blogspot.ca/ |
 |
 |
| I LOVE the way these sconces look! :D |
 |
| and since I didn't need the hanging fixture over the staircase anymore out it went. bub-bye! |

 |
| Fatima had given me a large unfinished Bespac wardrobe for Villa Leone which required some minor repairs. I stained it Walnut and re-fitted the mirrored doors, and fixed the missing leg. It turned out pretty good. |
 |
The black hangers I bought at the Seattle Show last March |
 |
I have a Monic Robert's dress in there for show, |
 |
| and the Gondolier's shirt and tie which Linda made specifically for Villa Leone is now hanging in the wardrobe too! :D  |
 |
| a lacy pink gown came from Charlene's Legacy via Keli soooo pretty! I'm saving it and the vanity my future Glencroft re-build |
 |
I'm not sure who made the the moccasins, but the embroidered slippers were Christmas gifts made by the VERY talented Linda Park. http://lindasminiworld.blogspot.ca/ She made a custom pair of slippers for Janine, Fatima, and me and I THINK THEY'RE PERFECT! Thank You Again Linda for ALL of your Amazing needlework! ❥kisskisskiss |
 |
| these are truly Marvelous! I'll place them on the floor by the bed. ❧❧❤❧❧ In the meantime, I made a wide plank hardwood floor for my Venetian bedroom using The Willowcrest dollhouse kit's generous supply of thin clapboard siding. The wallpaper I've chosen for the bedroom is a beige on cream over-size damask from a scrap book suitably subtle and old-world looking which works well with the bed |
 |
| BUT as much as I liked the Victorian Bed, I found that the big empty space in the headboard was visually annoying to me. It looked like it needed to be filled but with what??? |
 |
| I'd found some ornate puffy stickers at the dollar store which I tried out on the headboard. I gave them a spray coat of Matte Acrylic Sealer so the acrylic paint would stick, cut some up and glued them onto the bed. |

 |
| then the entire bed was painted and aged. |
 |
| But later, (as usual) I changed my mind about the size of the sticker above; removed it and chose to use a bigger one in its place, uggg I didn't like the look of this one, at all! :( ↓ |
 |
| After some serious re-thinking, I decided to take everything off and start again. I found a metal Lion's head in my stash which I glued to the center of a trimmed-off puffy sticker resembling a cameo. I added more wood and metal bits and then I repainted, and re-aged the entire headboard to match the rest of the wood. Below is the old- looking finished bed Viva Leone! ↓ |
 |
| The pillows: The embroidered floral cushion was pried off of a thrift-store pillbox, and the ticking striped pillow is one I made and filled with glass beads. The cream on cream embroidered bedcover was purchased DECADES ago at a VANCOUVER MINIATURE SHOW and after all this time, it's very gratifying to finally put it to good use! |
 |
| On an octagonal HoM side table, I have placed a Chrysonbon hand-painted mirror and the hair brush which came tacked to the Vanity from Charlene's Legacy. The bottle of "Oil of Olay", was from my friend Bettie Smith, and the Blue Hydrangeas were made by Fats- lovelovelove! Thank You Fatima! :D The tatted tablecloth was a lucky find at the thrift store. |
 |
| Another gift from Linda is this tiny embroidered footstool which now resides next to the bed. |
 |
 |
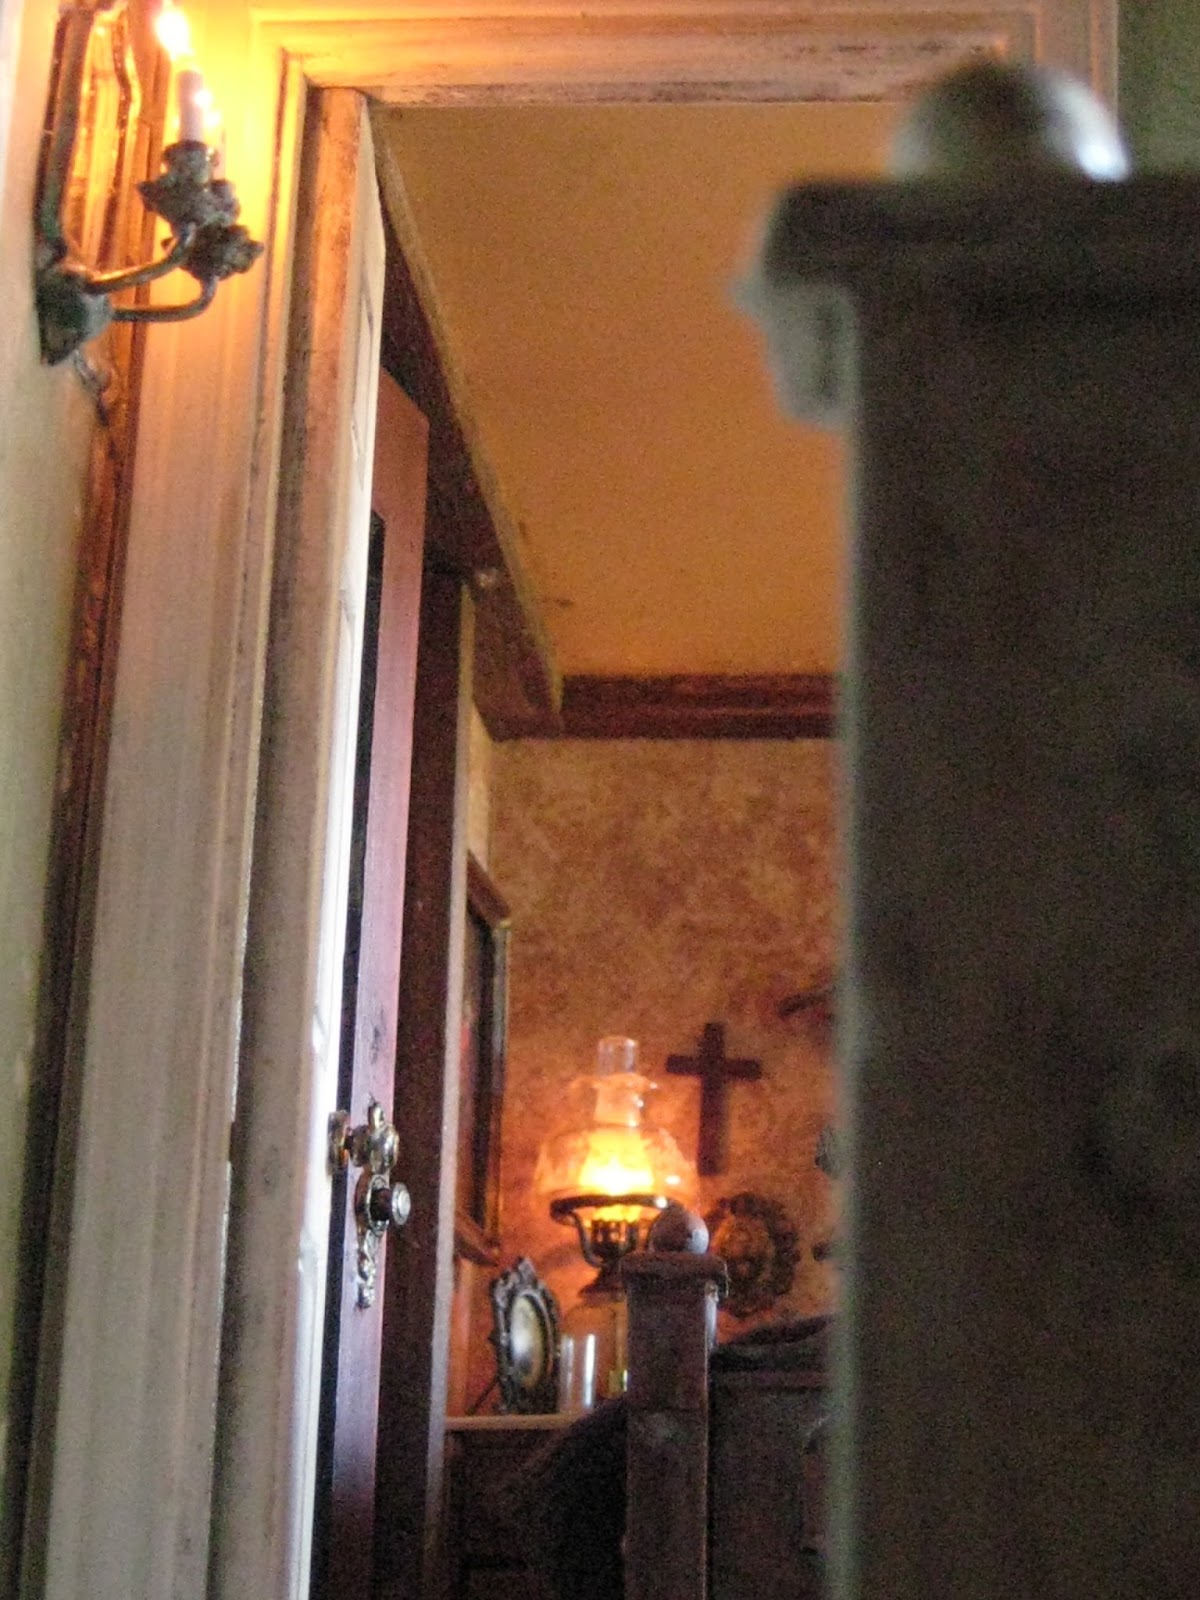
| Looking from the bedside into the hall. |
 |
| I was on a roll so the next step was to actually glue in the wallpaper panels. So OUT it all came again so that I could glue the paperboard panels to the wood. for that I used Fabri-Tac fabric glue As it happened, a couple of weeks ago, I was watching a Railroad landscaping video where the artist was using sheets of Builder's Pink Insulation Foam to make his rocks formations etc. To glue the stacks of foam together he used FABRI-TAC fabric glue which bonds like CONTACT CEMENT without melting the foam. After watching the video, I remembered I already had a full bottle of this glue so I tried it out on the backs of each of the paperboard panels. THIS IS MY NEW FAVORITE GLUE! it's sooooo easy to use I recommend spreading it with a long metal spatula OR a scrap of stiff card. The glue will rub off the metal after it dries and the card you can throw away later, But whatever you do- DO NOT USE A BRUSH! I bought my bottle of Fabri-Tac at Wal-Mart but its also sold at Joann's and Michael's, and on Amazon. Fabri-tac sets up fast and REALLY GRIPS so make sure that all systems are GO! I only applied the glue onto the paperboard surfaces, but in the video, the gentleman applied the glue onto the surfaces of both objects, he let it get tacky and then he pressed both surfaces together. It has an odor similar to airplane glue but not quite as strong. And because it's meant for fabrics you can use it for that too! |
 |
❦❤❦ Prior to applying the glue to the back of the wallpaper panels, I drilled a hole to thread the wires for the table lamp and for the wall sconce through, then I connected the ends to the power source, the connections were taped over using cellophane tape. After that I spread the Fabri-tac glue onto the backs of the wallpaper panels using a metal spatula. When the panels were in place, they were firmly secured using spring-loaded clamps. With the wallpaper glued to the walls and the lights working, I placed the furniture and accessories back inside the room.  A chicken was installed on top of the wardrobe next to the painting of a sleeping monk which I'd clipped from a magazine, glued onto cardstock and painted over with MOD PODGE |

 |

 |
| Fatima made this floral bathrobe specially for Villa Leone I was going to hang it in the bathroom but I think that it looks more at home draped over the bed. ❤❤❤ |
 |
| "Livia" and Linda's lovely slippers |
 |
I'd wanted to run a series of dark rustic beams across the width of the ceiling in the Venetian style but chose instead, to run them around the perimeter of the ceiling. To affix the ceiling beams and all the various wood trims in place, I used Aleene's THE ULTIMATE glue similar to Quick Grip ONLY BETTER is that even possible?  The Ultimate doesn't continuously ooze from the tube, so there less waste but like the Quick Grip it has a quick and tight bond! I bought my tube at HOBBY LOBBY in the U.S.A LOVE'N IT! the blue chair is from my stash |
 |
 |
| Linda Park's "VL"-Villa Leone custom cushion |
 |
| "Octavius" the ruling house cat by Sarah Hendry |

 |
| View looking up from the staircase window and into the bedroom |
 |
| bedroom overview as it currently stands |

 |
 A room with a view |
 | ||
"How sweet the moonlight sleeps upon this bank!"
|

 | ||
| "Soft stillness and the night become the touches of sweet harmony"
|

 |
.jpg)

