 |
| Ever since I began building my Greenleaf WILLOWCREST Kit a.k.a "VILLA LEONE", I have been trying to settle on a local identity for it. You may find that strange, when you recall that my idea was that this house would be situated in the city of Venice, which should have firmly settled the matter. Yet despite all of my efforts at establishing it there, it wasn't looking TO ME, like it actually lived there. The exterior has been a challenge, of searching for "the secret formula" of how to make the outside look more "Villa" and less "Chalet", which was why I decided towards the end of last year, to leave it alone for a while, as I began working on the interior. With the hall staircase kinda resolved and the interior wallpaper panels PERMANENTLY GLUED into place, (which was in itself, another giant commitment for me ) I decided to revisit the exterior of the villa and deal with some of the identity crisis issues which I was still struggling with. my main concern were Paint Colors because these just weren't working for me. below is the orange/ off-white paint color BEFORE |
 |
| It took me a LONG TIME to settle on this custom mixed orange, however it ended up taking all the blame once I decided to change the color of the house. BIG MISTAKE! I made it WORSE, MUCH Worse ah me- and there was no going back either since I was all out of that orange paint. below is a photo of the HORRIBLE AFTER |
 |
| AND there were at least 15 MORE HORRIBLY UGLY AFTERS which followed one right after the other. The color in the photo is a taupe-green BLAH! Boo! Hiss! I re-painted the 2nd and 3rd floors over and over again, using every warm and/or neutral color I had on hand. When they didn't work, I sanded down the walls and custom mixed my own paint hoping to hit on that elusive "magic color combination", but it was all time wasted because everything I did looked awful and had to be undone. This painting and repainting fiasco went on throughout the month of January. I was in deep despair. It must have been the last week of January when I stumbled upon a PINTEREST photo of a popular craft called "Tejas"; which are painted Spanish roof tiles which are made to resemble Mediterranean house facades as well as other imaginative scenes. What interested me most about the "Tejas" was that within a very limited space, the artists were effectually able to convey an atmosphere of hot, ancient stone dwellings. 3-D renderings complete with with all the door and window fittings, balconies, roofs, plants, awnings, shutters etc., which gave the clay tile houses, both a sense of location as well as a long history. so Why, I wondered, wasn't I able to achieve this kind of effect with My dollhouse? Since this craft was new to me, I watched a demonstration on youtube which I found fascinating Especially the way one artist base painted her entire tile in BLACK prior to adding detail colors which gave the final finish a visual depth. And so with nothing left to loose, I re-painted my villa BLACK too! The next step was to dry brush the black with thin layers of shading and highlight colors to achieve dimension on the flat surface, which brings me to another issue I was having which was the Wall Texture I didn't like the texture of my exterior walls. There was either too much of it or not enough and I couldn't seem to get the balance right. So prior to painting the house black, as per the Tejas tutorial, I opted to add MORE texture by glueing on a few paper bricks, then feathering the edges with wall patch. When that was cured I applied a heap of glue and pressed bird gravel onto the wall over the plaster to give it a rough, aged texture as well as some extra character. below is the base coat of black paint with the bricks glued on and painted. |
 |
| the photos below and above are reversed. The bricks below are Before painting and the picture above is After they were painted. |
 |
 |
| above is another AFTER. Over the black, I dry brushed a mix of gray, white, brown, black and cream, to build up the look of a concrete wall. I actually liked it and was on the verge of keeping it this way, however it still didn't look Italian enough to me- So I FINALLY gave up trying to think of something myself and used a picture as a color reference. *Something I should have done in the first place!* |
 |
| My inspiration photo |
 |
| At last I felt I was making some real progress! I painted both the ground and second floor a custom mixed golden tan and deepened the red doors with a brown antique stain. Staining the french doors had me looking twice at the main entry door again. I chose to change that too. below is the Red Door BEFORE |
 |
| sidebar: *I actually didn't have an 'issue' with the red door until I started messing around with the others. Nevertheless, it seems that I can't help but meddle.* My thought was to make the front door look "Heftier" (whatever that meant ) After searching through Pinterest I saw a door that seemed to fit the description. It required decorative nail heads |
 |
| By cutting off the tails of a number of teeny tiny paper brads and gluing them to the surface of the door, I got the "HEFTIER" look which I was after. I added some more metal findings to the raised panels and changed the door handle as well as its position. Then everything was re-painted and re-stained and re-aged, to achieve the AFTER Door as shown below |

 |
 |
| I'm calling this door DONE! |
Below is the BEFORE size of the attic dormer windows
 |
 |
| the larger Attic windows AFTER! Having changed them to a bigger size, will no doubt change the roofline once it is actually installed. However, I'll stress out about that problem later, since I can only be stressed with one problem at a time! |
 |
 |
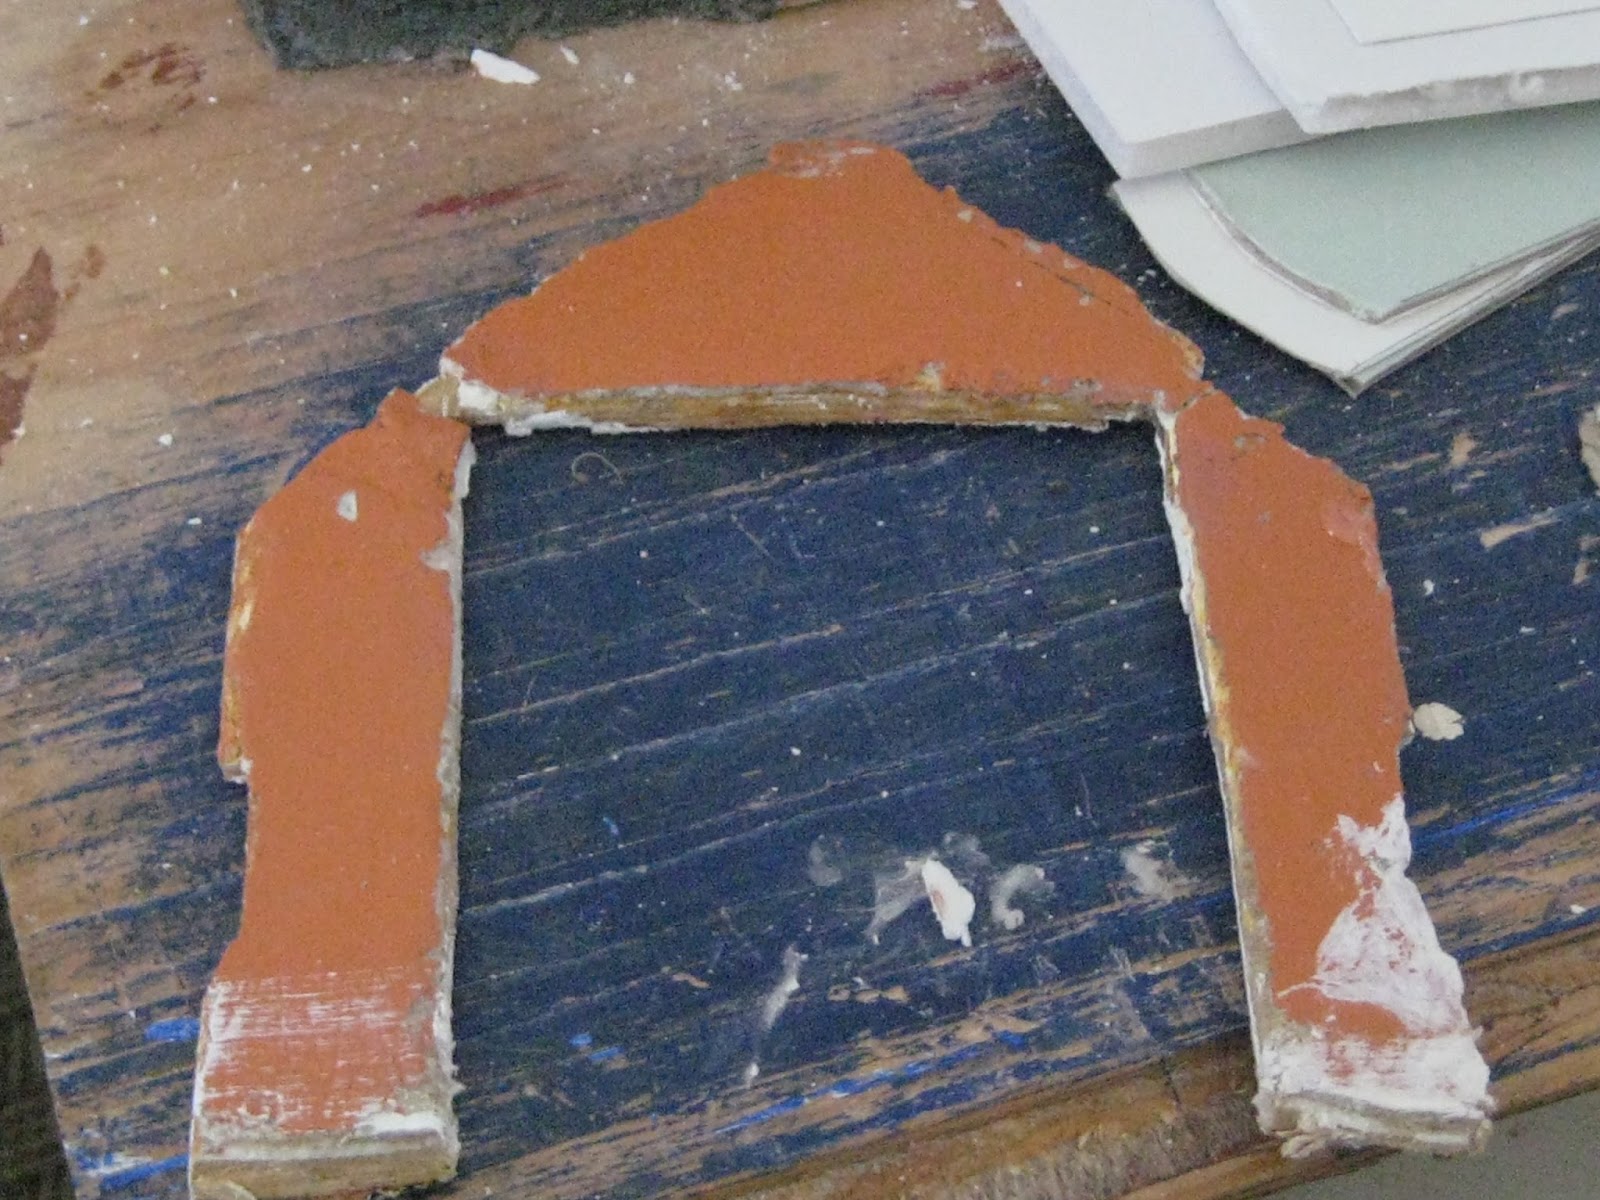
| But Hey! let's talk about wasted building materials! I wasted a perfectly good french door to make this solid panel of two small stationary kitchen windows??? Mamma Mia!- What was I thinking??? (head slap) To see what the panel looked like BEFORE, refer to photo 2 at the top of this post. |
 |
| and Before I forget, here is the AFTER results of all of my wall texturing project. |
 |
 |
 |
| more Texture was added to the right side of the villa, too. |
 |
| These green doors came about right after I'd finished painting them red, which meant that since I immediatley regretted the green, I had to re-paint them red brown AGAIN! will I EVER learn to leave things well enough alone? *sigh* ANYWAY.... that's not why I included the photo. Rather it is to show the infill of the roof overhang directly above it. I removed the half circle from over the door to fill in that wide disconnect between the two sides of the dollhouse and have a continuous line spanning the entire front section as it does on either side. You can see the brown wood infill in the BEFORE photo above. The AFTER is shown in the photo below. |
 |
| The lower left side of the wall will eventually have small window cut and installed, AFTER I get the kitchen floor plan worked out on the inside, so the photo above is both an AFTER as well as a BEFORE if that makes any sense to you? |
 |
| Decorative columns were added to the front corners of the villa, using wide dollhouse baseboard trims. Another AFTER is the repainting of the exterior light fixtures and beefing up the wall ornamentations. |
 |
Rarely do things go smoothly for me the first time around.
 |
| In the photo above you can see all of the extra age and decay on the right wall. FYI- the temporary roof over the dining room windows is only a stand-in. This is another roof which I'm not yet ready to deal with yet. The photo below shows what the window wall will look like AFTER the planter is re-installed. hmmmm?... Perhaps....? What about...? Should I add some ivy trailing down the front of the planter...? . given my history- do I dare? |
 |
 |
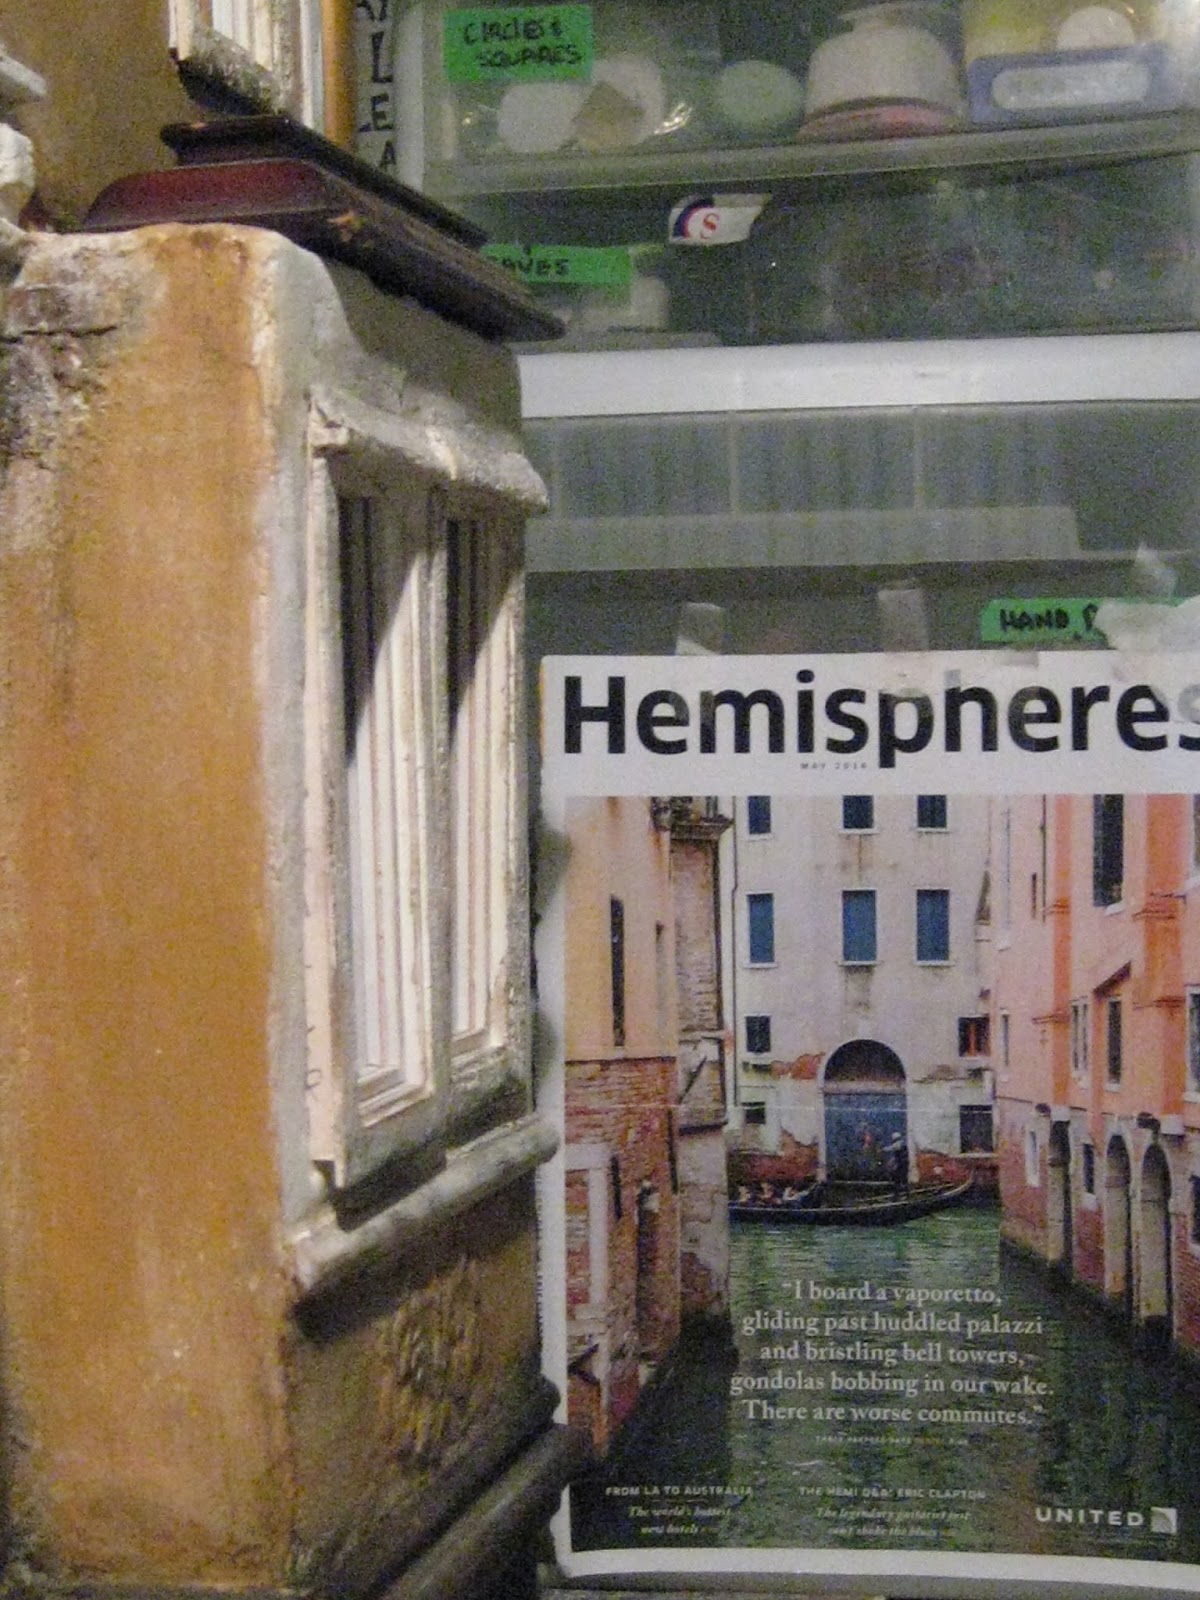 |
| Just for FUN, I taped a tear sheet which Janine had given me, to the wall to give me the feeling of a house in Venice, however I'm still not convinced that this villa lives there, nevertheless- I love the perspective! And I love those blue shutters! So I made two sets of simple shutters for the front of my Villa. Well- they were supposed to be "SIMPLE", however not only did the wood warp as it dried, but the glue wouldn't stick! AND even after they were wrestled into submission, the shutters proved to be difficult to install and fought me all the way. The results shown below, are AFTER 3 DAYS of fiddling around flattening, gluing, painting, staining, drilling and installing them, and although they still require a latch- they don't close. Which brings me to another consideration. Should I bother installing the window glass? something else for me to stress out about. |


 |
| The Cat appears to have found the purr-fect place on the window ledge, to sun himself. "Do not disturb" is plainly written in those half-closed eyes. |
 |
| hello kitty |
 |
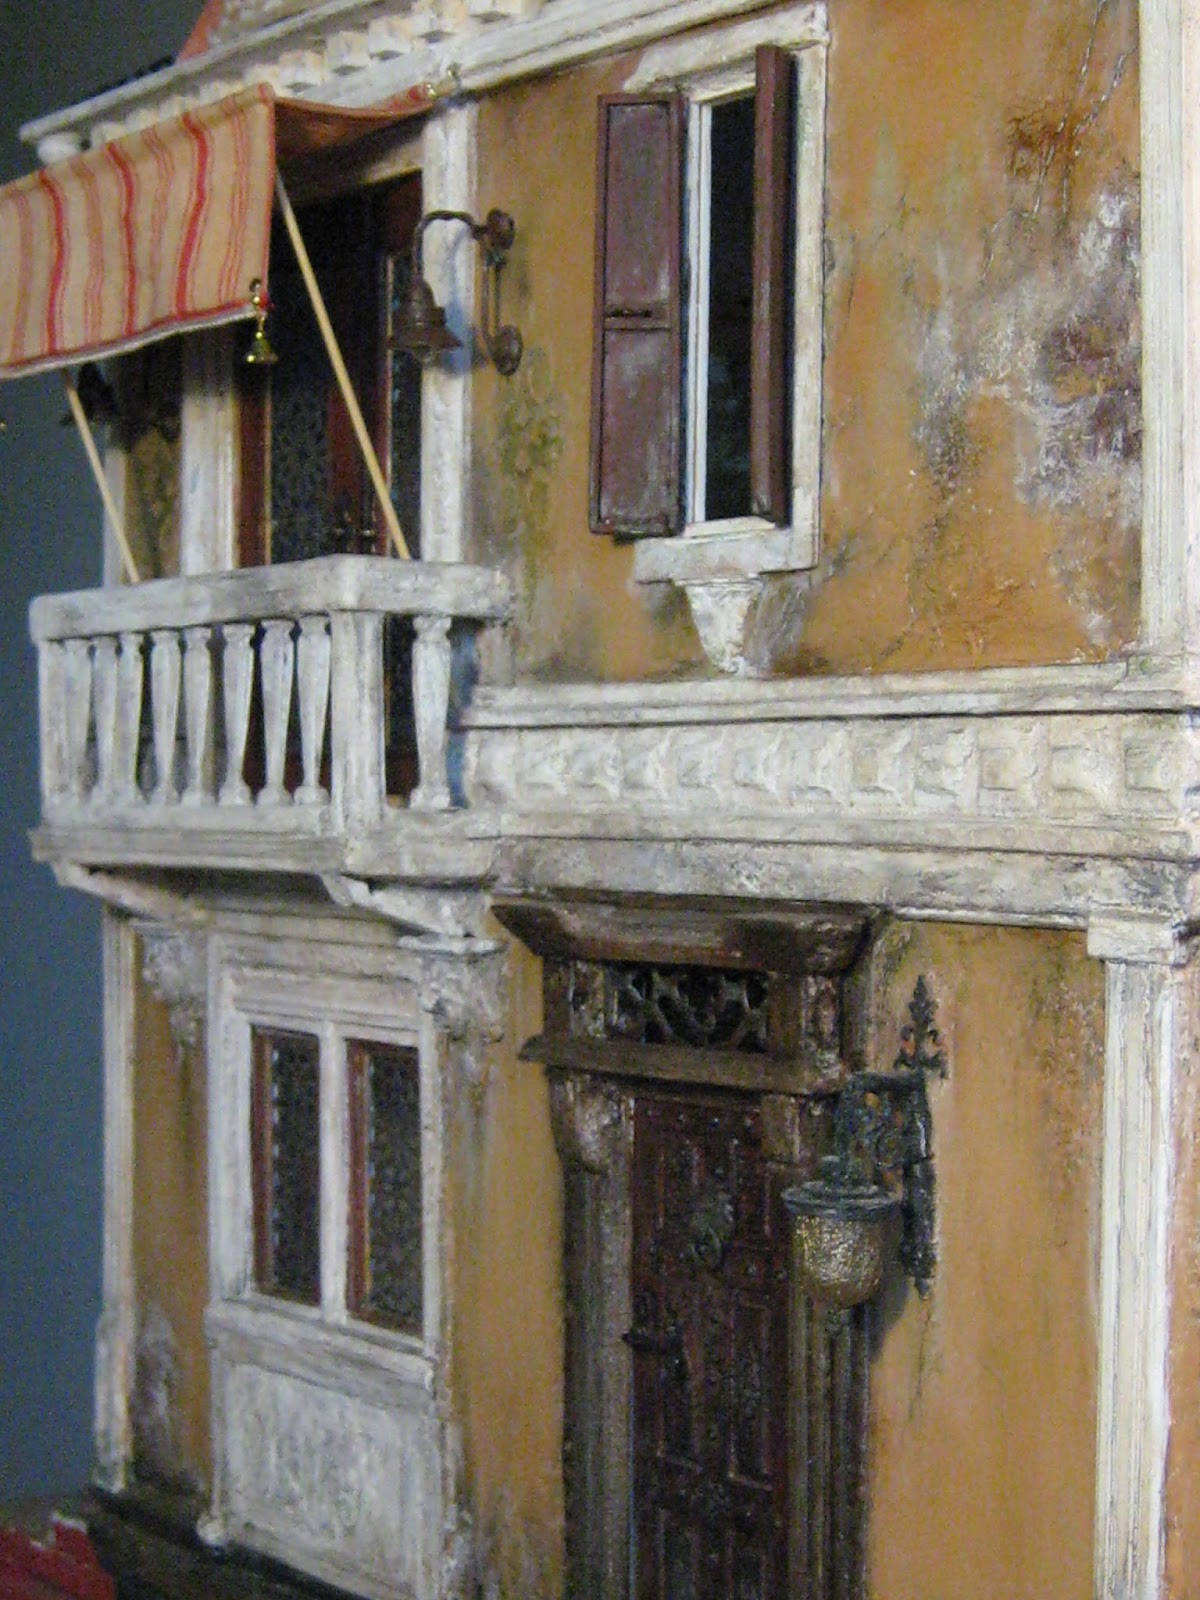
| And FINALLY here is my last AFTER; an awning over the balcony. Although, I've only just started on The Awning, it has already been made over several times and no doubt the process will continue on until I have resolved all of my current difficulties with it. "There got to be an Awning AFter" |
 |
| In the photo above you can see the faded paint on the concrete facade. I have left the 3rd floor front wall more raw than the rest of the house, because currently I like the effect. However, it does seems to need "something extra" up there. I've already attempted 3 different minor alterations and all 3 of them went BUST, so I'm leaving it alone- for now. |
 |
| When my daughter was over last week, she told me that if my villa was going to be located in Venice, then it needed MORE ALGE and more DIRT! I thought that I already had LOTS, but she said I needed more, so after a few tentative dabs here and there, I threw myself into it, and GRIME flew from my brush and was deposited all over the entire house. however- In hind sight, I feel I may have gone a bit overboard, so I've been sanding down the grime a little bit here, and a little bit there... ah me... around and around I go |

 |
| salt water stains on the base of the front door, dirt on the walls, slime on the stone, exposed bricks, peeling paint etc. etc. and I still don't know if I want this house in Venice! and I'm tired so its time for the AFTER WORD- After all that has been said and done, I think I FINALLY have a Mediterranean house. Maybe it's in Venice? or maybe not, either way- I am going to have to be content to just go with the flow and let Villa Leone decide where it wants to live. because- the stress of constantly changing things to make the dollhouse adjust to My ever-changing ideas is DRIVING ME CRAZY! I am as wound up as tight as an old pocket watch. I think I'm needing a break, so that I can get outside of my own head! Perhaps a mini vacation in a warm, dry spot, where I won't have to think about ANYTHING except relaxing for a while. and I know Exactly where I can go! |
 |
 |
| move over cat |
elizabeth
.jpg)

