 |
| WELCOME BACK Benvenuto indietro! |
 |
| Just to satisfy any curiosity regarding what I decided regarding the wood nymph with 3 arms; as you can see I changed it however, in the picture of the 2 dancing maidens- the raised right arm, doesn't actually belong to either of them. but it works! ♡♡♡ Now on to the tutorial I am making a stone archway leading from the entry of the Villa, into the kitchen using plastic garden fencing purchased from the dollar store. |
 |
The hard plastic fencing comes in snap together sections made up of 4 arches with center spears.
It's available in either white or black.
I chose white because I wasn't certain about what color I was going to finish it in.
|
 |
| This is what the fencing cost in Canada. I cut 2 of the arched sections free from the fence panel |
 |
| I scored the joins with an utility knife and then snapped them apart using an old pair of wire snips |
 |
| The rough edges were cleaned off with a utility blade |
 |
| I measured the frame for its height, and cut it down to the right size. |

 |

 |
 |
| Matte board was cut to fit around the arch and glued onto the frame using E6000 glue. fyi (The second wall template on the kitchen side, has not yet been glued around the arch, because I still can't decide on a wallpaper.)  Gaps around the frame, were filled with drywall patch |
 |
| To finish the arch, I repaired any rips and blocked up the open gaps in the frame using masking tape and/or foam core board. |
 |
 |
| I painted the interiors of both arches with black acrylic paint and let it dry. |
 | ||
| then I wedged pieces of scrap foam board inside of one of the frames and made sure that the second arch would fit snugly over top, making adjustments for a tight fit, where needed.
|


 |
| I scraped off any excess glue and painted the entire frame in a white acrylic paint. |
 |
| Then using a spatula I layered on drywall patch, filling in any gaps around the frame as well. This was then sprayed with hairspray to seal it and gave it another coat of acrylic paint. |
 | ||
| I applied a coat of drywall patch to the front surfaces to disguise the "tooled metal" texture, hoping to make it look more like old stone. I normally use hairspray to seal the raw plaster BUT I decide that there had to be a better way to get a stone effect without taking so many steps, so I experimented a bit and came up with a recipe which worked out much better for me; a type of LIQUID STONE here's my small batch recipe: all amounts are in approximate measurements but are easily adjusted up or down 1 tablespoon GESSO 1& 1/2 tablespoons DRY WALL PATCH 2 teaspoons LIQUID ACRYLIC SHEER COAT MEDIUM [gives a transparent finish when mixed with acrylic paint, but in this case it serves as a sealer + binder ] 1 teaspoon OF WATER. the products were mixed until smooth and the consistency of a Heavy Cream. They were then troweled onto the face of the arch with a flexible spatula. the photos below show what it looked like after the liquid stone recipe was applied
|

 |
| The resulting finish is smooth with a light gloss now for the color |
 |
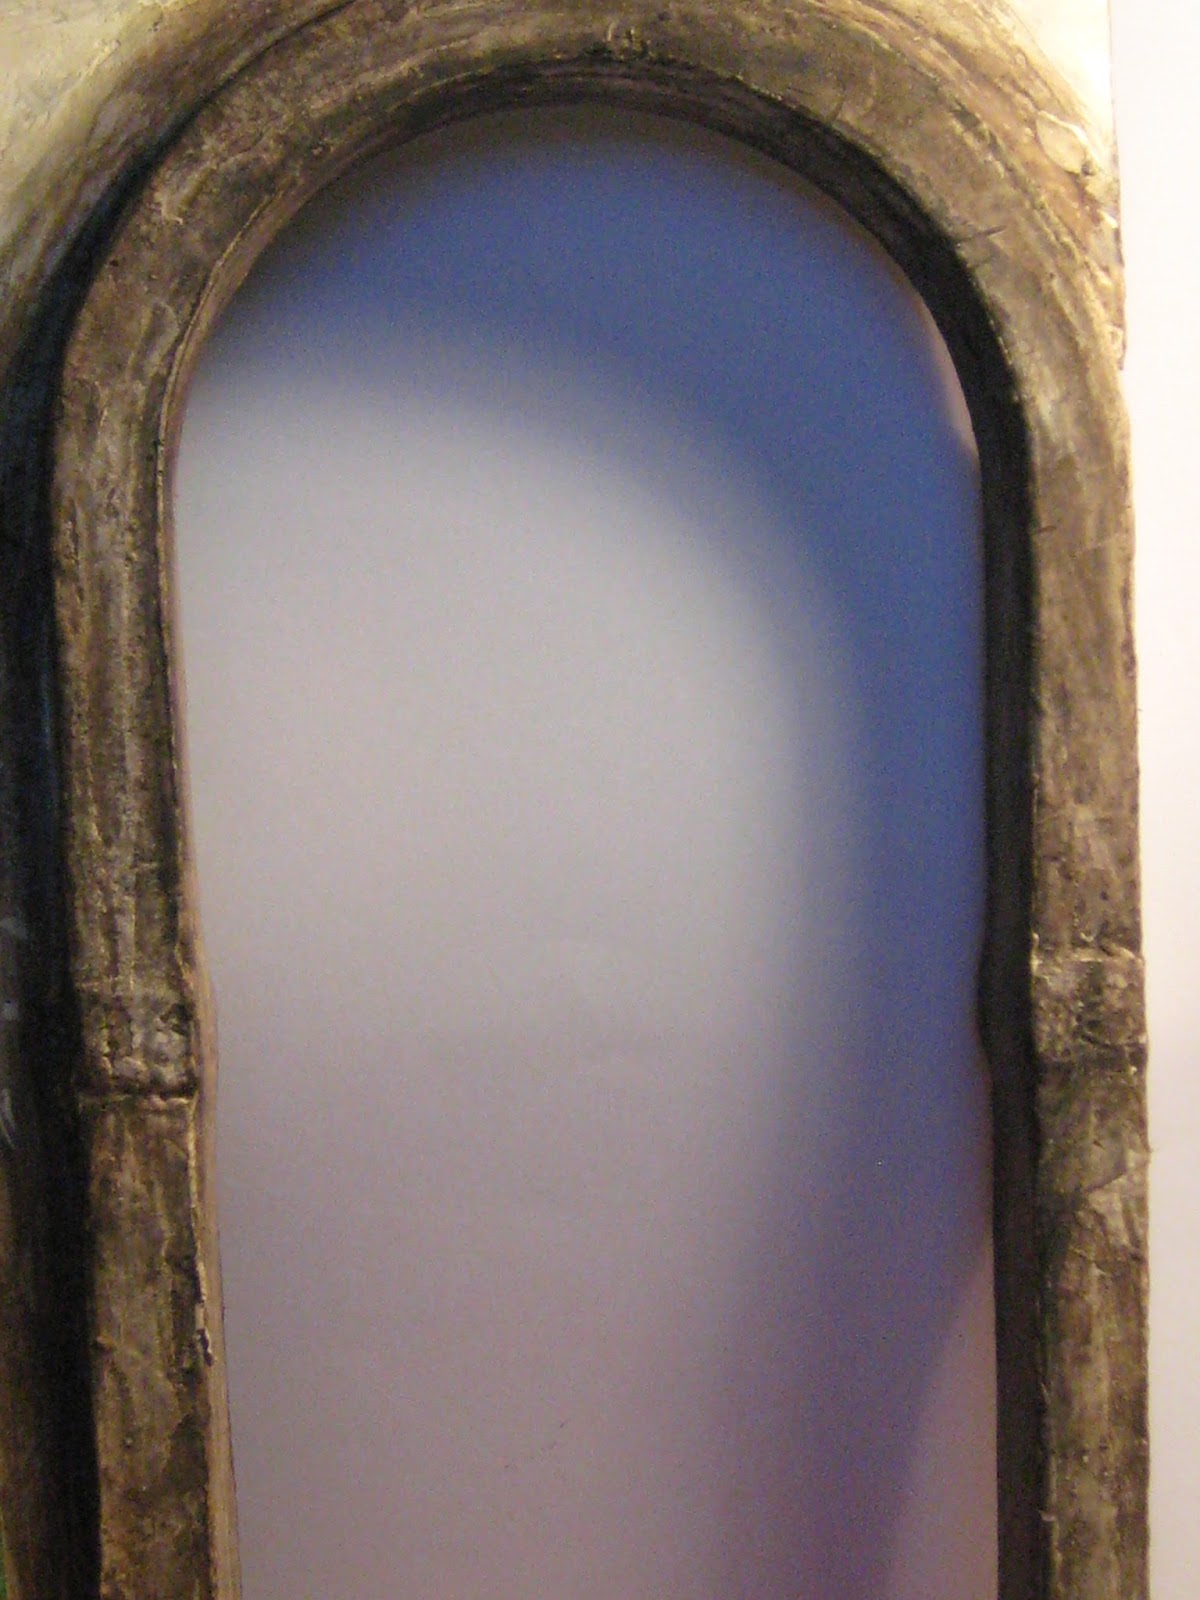
| Using an assortment of grated chalk pastels, water, brushes and sponges, I painted over the arch with a very thin, watery mix of all the above colors adding the color with a brush and subtracting it with a sponge. I continued with this process until I was satisfied with the final color of my stone. The white liquid stone base resists the water, while the powdery nature of the chalk pastels, dries splotchy, enabling me to build up the colors with the white still showing through under the various grays. The more water mixed in with the chalks-the more translucent the finish; with more chalk than water- the more color density. so this is what it looks like now |


 |
| Not Bad if I do say so myself :D Hope you've enjoyed this "trash to treasure" tutorial |

See you again soon!
caio caio
elizabeth
.jpg)

